Linksys offers a quite desirable internet speed with reliable network coverage in your home. It also has the capability to share the connection between multiple clients. It also has MIMO technology that provides a superb wireless network.
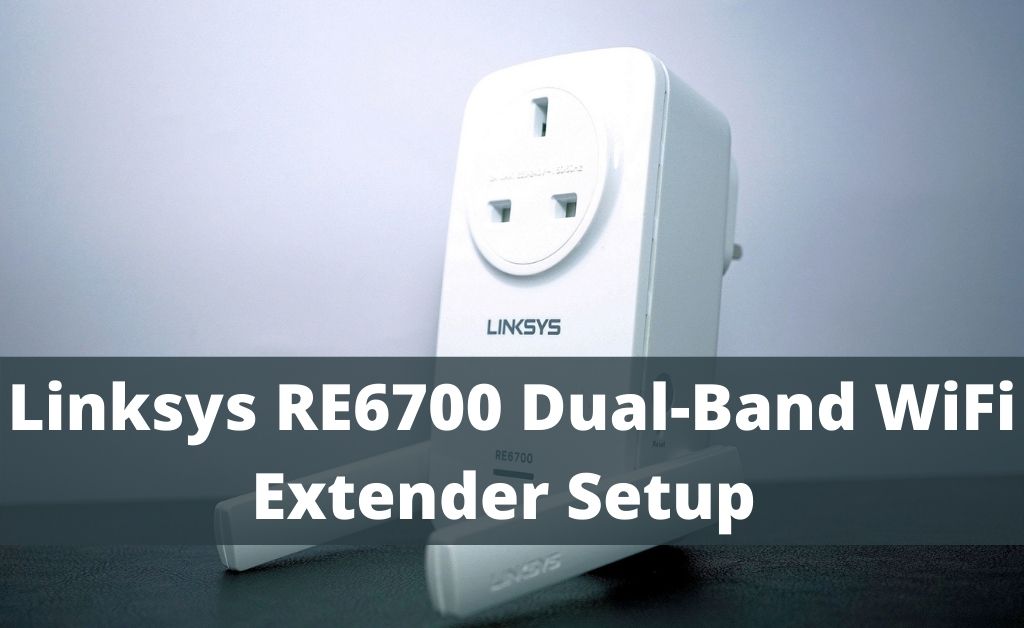
In order to establish a proper internet connection, perform the Linksys RE6700 Setup procedure for the router as well as its extender too. The extender generally boots up the wireless signal and helps you to get good network coverage.
Steps for Linksys Extender RE6700 Setup
Here you will get all the important steps to configure the extender. As the procedure is entirely based on the web browser, you can perform it very easily if you read and understand them very carefully.
- Linksys allows you to configure the extender with the help of mobile devices. Connect your mobile or tablet to the extender with the help of its default network ID.
- You can find it at the label which is present at the back of the device. Open the default web browser of your computer and type the IP address in the address bar and press Enter.
- The homepage will eventually open and you will be able to see a number of options. Find and click on “Start Setup” and it will take you to another page.
- Here you have to make your own choice about using the range extender. Select “As a wired range extender (Access point)” from the drop-down menu present there and click “Next”.
- After that, select “WiFi”. Before that make sure that your WiFi uses the 5 GHz band. After selecting WiFi, you have to choose the desired wireless network. In case your network id is somehow hidden, then you can manually enter the network name and password.
- When the extender detects your wireless network, wait for some time until it synchronizes the connection. After that, a new window will open for the password.
- Enter the correct password and once again click “Next”. Another window will open where you will get the final information like the “Network name”, “Security mode” and “Password”.
- In order to detect the location, click on “Next” once again and select the “Spot Finder”. It generally determines the signal strength between the extender and the router.
For more security, you can create an admin id and password. In addition to that, a password hint option is also available if you forget the password somehow. After that, click on “Save” to finish the entire operation.
What if you face problems while Setting up the Extender?
During the time of configuration, the entire procedure might freeze, shows password error, be unable to open the setup page and many other problems can arise. So you must be prepared to resolve them to complete the Linksys re6700 setup process. All you need to do is to follow these below-mentioned steps to get rid of the problems.
- As the complete Linksys re6700 setup procedure is given above, follow and maintain the correct sequence while performing it.
- In case any of the steps are stuck in the middle, just turn off the router as well as the extender. Keep it idle for some time and switch them on.
- While entering the password, crosscheck it more than one time as they are case-sensitive. Make sure that you have entered the correct password before pressing “Next”.
- After typing the IP address in the address bar of the default browser, if the page doesn’t open, clean the browser’s cache files and the cookies too.
- If you see a red light glowing in the extender, then there might be some problem occurred. Restart the extender and hopefully, it will work normally again.
- When the indicator lamp of the extender is blinking orange light, it proves that the device is far away from the router and lacking signal strength. Bring the extender near the router.
Important Note: The Linksys extender comes with some a number of buttons and ports. So, you must get a brief idea about their functionalities. The WPS button will help you to auto-connect to the network. RESET button will roll back the extender to its factory condition. The Ethernet port is for wired connections and the Audio port is for inserting 3.5 mm headphones.


