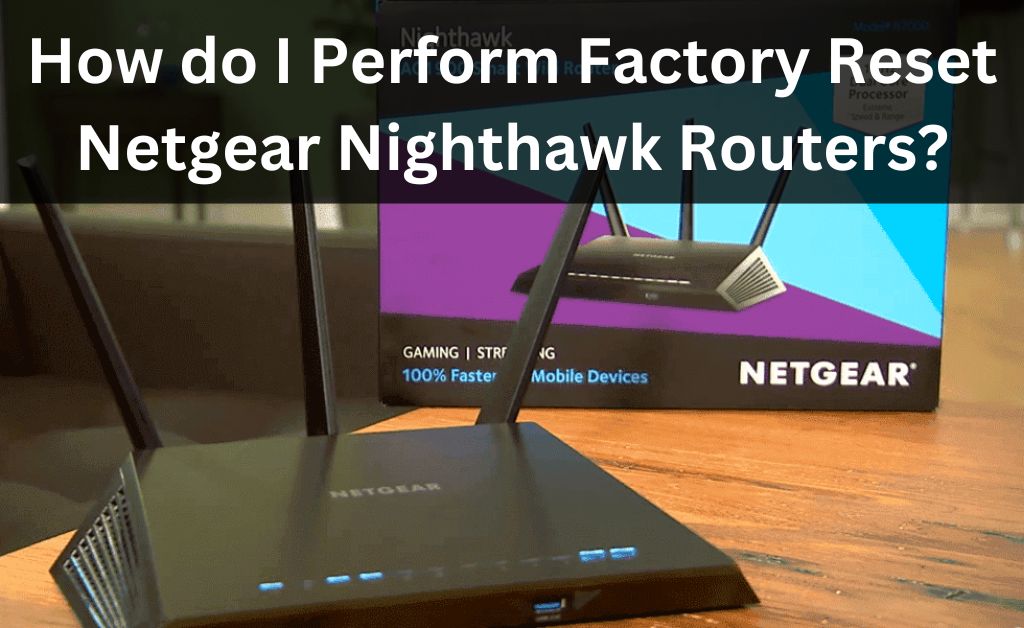
You can configure your Netgear Nighthawk router to perfectly suit your requirements and preferences. Also, you can change these configurations anytime when required through the interface or the mobile app. This is very helpful when you face various issues with your router due to a misconfiguration.
However, you might sometimes fail to find out where the configuration issues lie. Resetting the router would be the only way to resolve the misconfiguration in such situations. You can do that using either the Reset button or the mobile app as given below. Apply the method that you prefer to factory reset Netgear Nighthawk routers.
Reset Your Netgear Nighthawk Router Using the Button
Are you near your router when it is facing configuration issues? You might prefer to use the button on the back panel rather than using the mobile app. After all, it is a much simpler method to reset your Nighthawk router in most cases. You must ensure your router is powered on before proceeding with a factory reset.
Take the following steps with your router turned on to restore its factory settings:
- Find the Reset Button
The Reset button is usually located on the back panel of all router models. In the case of your Nighthawk routers, this button is located inside a tiny hole in the back. So, you would need an object that can get inside this hole to press the button. Most people might prefer a paper clip or similar objects to reach the Nighthawk router’s Reset button.
- Press and Hold Down the Button
You need to press and hold the Reset button for a specific time to accomplish a factory reset. Nighthawk router models usually do not require holding this button for more than 7 seconds. You should see a blinking amber light on the device once the factory settings have been restored. Release the button as soon as this happens and set up the router all over again whenever you are ready.
- Log in with the Default Credentials
As you probably know, a reset will restore the default admin credentials on your router. So, you must use the default username and password to access the web interface after the reset. Check the router’s label or service manual, if you do not remember its default login credentials. Alternatively, you can search the internet for your Nighthawk router’s default username and password.
Reset Your Netgear Nighthawk Router Using the App
You can also remotely perform a factory reset on your Nighthawk router if you are away from it. All you need for that is the mobile app for your router, which is available on Android and iOS.
Proceed with the following steps to factory reset Netgear Nighthawk routers:
- Log into Your Netgear Account
You must be logged into your Netgear account on the app to access your Nighthawk router. So, enter your Netgear credentials after launching the app if you have been logged out. You can then proceed to make any changes to your Nighthawk router and in this case, restore its default settings.
- Use the Reset Option
Go to your Nighthawk router’s Settings section on the Netgear app to find the Reset option. Perform a reset if there are no other ways to resolve the existing problem. This method is as effective as using the reset button, and you must complete the setup again.
- Configure Your Nighthawk Router Using the App
Have you used the app to reset your Nighthawk router? If yes, you can also set up the router remotely with the app. So you might want to stay on the application and proceed with that right away. Alternatively, you can simply use your browser to access the router interface for this task.
Reconfigure Your Nighthawk Router After the Reset
As mentioned earlier, you would have to configure the router again after resetting it. Also, you might want to do that without any unnecessary delay for various reasons. You can use either the web interface or the mobile app to reconfigure your Nighthawk router:
Using the Web Interface
The web interface can help you set up your Nighthawk router in a few simple steps. All you need for the task is a browser and a reliable connection with your router. Take the following steps to access the interface and proceed with the setup:
Open Your Router’s Web Interface
Connect your router and computer with an ethernet connection and open any web browser. Then, enter your router’s default gateway in the search bar to access the login page. Use the default admin credentials there to open your Nighthawk router’s web-based interface.
Complete the Setup Procedure
Go to the Advanced section on the interface and click on the Setup Wizard to start the configuration. You only have to create new admin credentials and download any available firmware updates to complete the setup. Your router will then reboot, and you must log into it with the new credentials. Make all the necessary changes to the settings after finishing the basic setup.
Using the Mobile App
The mobile app makes it very simple to set up your Nighthawk router. All you must do is install the app if you have not already and log into your Netgear account on it. Then, connect your device to your Nighthawk router and initiate the setup process on the app. You must then follow the app’s instructions and configure all the settings that show up.
As in the case of the previous method, the app setup does not let you modify all settings. So, you would have to proceed with the configurations after finishing the setup. Make sure your router issues have been fixed once you are done.
What if the Bad Performance Recurs?
Resetting is the last resort for fixing many complex router problems. So, you would expect this step to effectively resolve whatever issues you have been facing. However, it would fail to fix problems caused by hardware damage or outdated firmware. You must consider replacing your router or updating the firmware in such situations.


