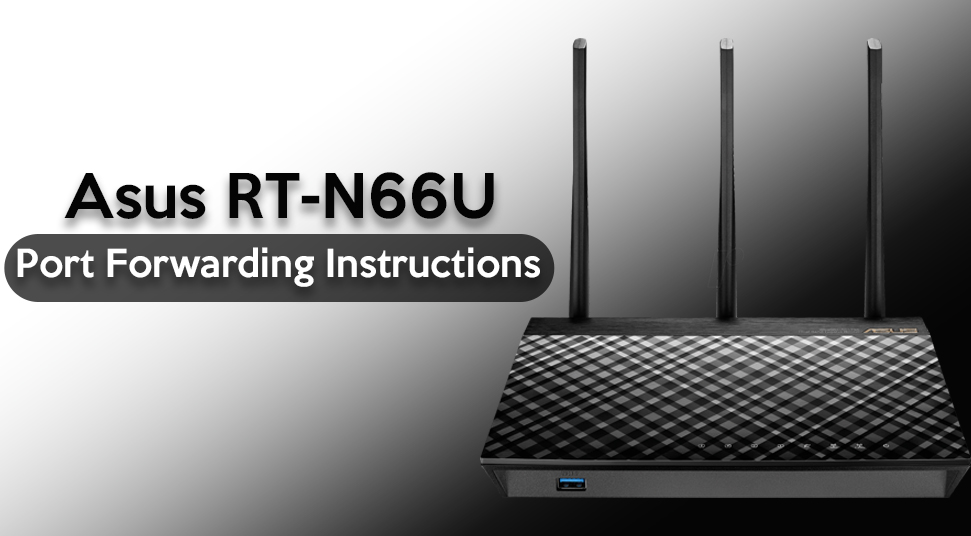
When it comes to wireless connection or networks, Asus is one of the finest brands that customers prefer. This brand with its quality products of innovative technology and exceptional features never forgets to satisfy its customers.
However, there might be several flaws that come with this device after a time that can hamper the internal connection. One of these issues that can halt the surveillance system to view the network and result in the Port Forwarding issue.
So, here we are going to discuss the complete Asus RT-N66U Port Forwarding instructions which will help in halting the network issue.
So, if you are looking for a proper guide to look after the port forwarding instructions, then have a glance at this article till the end. This article covers all the flawless techniques and instructions to set a port forwarding rule at the earliest.
Get the Asus RT-N66U Port Forwarding Instructions:
Port forwarding is quite essential to view the surveillance system and without this, you’ll get stuck every time you try to view your network. You must proceed with each and every step we have discussed below to know about the port forwarding instructions.
Listed below are some of the steps to accomplish the task.
- Turn on the computer and open a web browser to proceed with the following task.
- Enter the following 192.168.1.1 into the address bar on the top of the browser.
- Tap the Enter key to open the Router’s login page and then enter the Username and Password. The username is basically as “admin” and the password is also as “admin”.
- Press the Enter button to get into the router service and locate the Port Forwarding option from the top.
- Click the option and select the WAN option from the menu on the left side.
- After that, select the Virtual Server option from the sub-menu and start by giving the first rule a meaningful name.
- Select the Port Number as NVR 80 under the Port Range option and click the Local IP address option.
- Set the number as NVR/DVR 192.168.1.1 and then enter the Port Number again to confirm.
- Select the TCP option from the sub-menu f the Protocol option and click the “+” symbol to the right.
- Finally, repeat these steps for each port and click the Apply button when all ports are completed.
Finally, close all the active tabs and restart the router to see if the ports are changed successfully.
Wrapping Up
Here we have discussed all the effective steps to know about Asus RT-N66U Port Forwarding instructions in every possible way. Hopefully, the above article was beneficial enough to assist you in how to change the port on the Asus router.
In case, the above steps fail or don’t act, then contact your network operator or an expert. Finally, if you have any better suggestions or solutions to perform the above task, then you can share your thoughts via the comment section below.


