The Asus RT- N12 is a wireless router device that comes up with two 5dBi Omnidirectional antennas which will provide the users a stronger wireless signal range. Moreover, the device supports the 2.4 GHz signal band along with the 300Mbps wireless speed. Also, it has 4 Lan ports and 1WAN available for the wireless as well as the wired connection. In addition to that, it supports, Repeater, Access Point and Wireless router mode.
In order to begin the Asus RT-N12 setup, you must go through the underlying instructions, So, without further delay, let’s proceed!
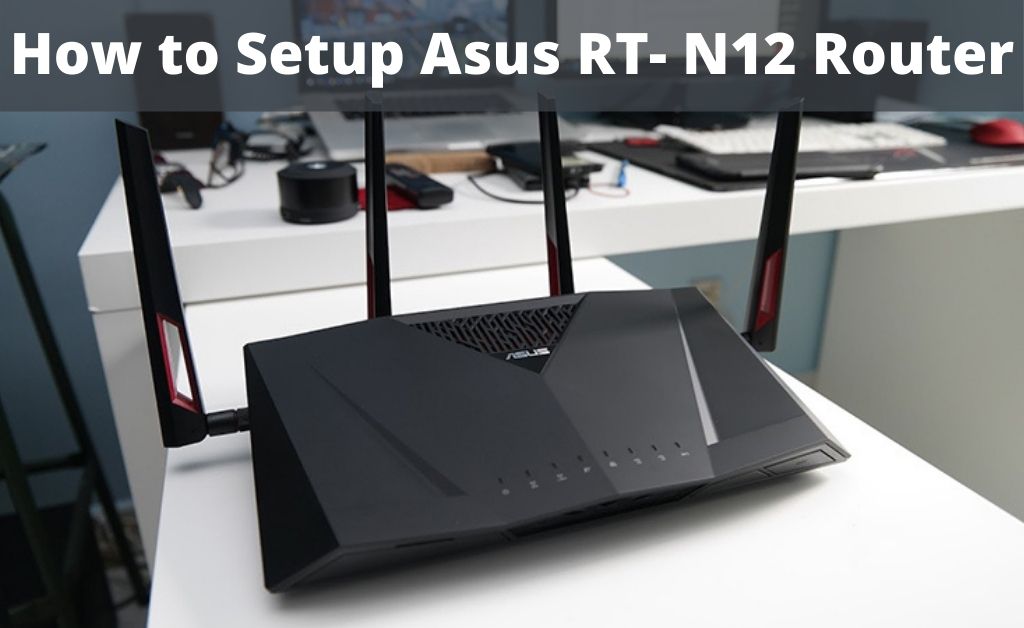
How to Setup Asus RT- N12 Router?
Here are the instructions for Asus repeater setup RT-N12 in a detailed manner using the Quick Internet Setup feature. Hence, learn and implement the instructions underneath to do the task on your own.
Step 1:
In order to begin the Asus RT-N12 setup, connect the power adapter to the device. Now, take an Ethernet cable and connect one end of the cable to the router’s LAN port and another end to your computer’s Ethernet port. Afterwards, make an attempt to connect your modem to the router’s WAN port.
Step 2:
Once you are done with the above instructions, connect your modems power adapter and press the router’s “Reset” button for a while. Keep pressing the “Reset” button until the device reboots.
Step 3:
On your machine, initiate the default web browser and enter the default Asus RT- N12 address inside the search bar. The default Asus RT- N12 address is 192.168.1.1. Afterwards, hit the “Enter” key in order to proceed further.
Step 4:
After performing this instruction, you will notice the Windows Security menu that appears on the display screen. Under this menu, you will be prompted to enter the login credentials such as Username and Security Key or Password. Enter the login credentials inside the text bar and tap on the “OK” button.
Step 5:
From the result-oriented window, proceed to tap on the “Quick Internet Setup” and write a new administrator password inside the text box. Click on the “Next” button and search for the “Wireless Router Mode” from the resulting menu. After you find it, tap on it to initiate the window.
Step 6:
After accessing the “Wireless Router Mode” window, you will be asked with the Connection Type of the ISP if it was not automatically detected. Afterwards, hit the “Next” button in order to head over to the next step.
Step 7:
In this section, you need to write down the Network Name and Network Key which is also known as Password. Moreover, you can also make the necessary changes as per the system requirements by following the on-screen instructions.
Step 8:
In the final step, proceed to tap on the “Next” button and show the summary of your recently made settings. Afterwards, you can choose the “Apply” button as well as the “OK” button to save the new changes.
We hope, if you perform all the above-mentioned steps in the correct manner, you will be able to complete the Asus RT-N12 setup process.