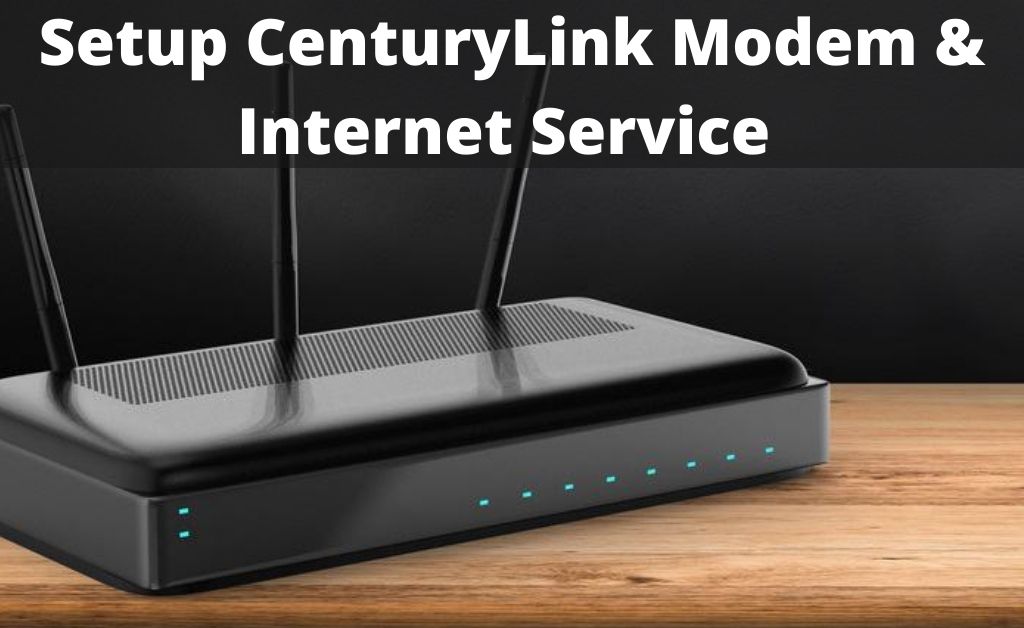
CenturyLink is an internet service provider that delivers a super-fast internet service. After getting the internet service, you can probably wonder about the modem’s installation process. As a result, you need CenturyLink setup and configure the modem that you will get along with the ISP to enjoy a hassle-free internet service.
Apart from the modem, the CenturyLink setup page will also play a vital role in the configuration procedure. Here are some instructions that will be helpful for you to establish a complete home wireless network. All you need to do is to follow them carefully.
The Complete Installation Procedure
There are basically two types of wireless network installation process which are self and professional. We will cover both procedures in detail. After that, it’s all up to you whether you will either opt for a self or the professional one.
Self Installation Process
If you decide to set up your home wireless network on your own, then you need to follow some steps to do it with ease. The steps are here as follows.
- Keep the modem in a safe place and connect one side of the power cable to the modem as well as the other side to the electrical outlet.
- After that, the power light will start blinking. Wait for some time until the blinking gets steady. This will only take a few seconds.
- We hope that you have the DSL cable ready with you. Connect one end to the modem and the other end to the telephone line.
- Now carefully observe the DSL lamp. If it turns solid green, then it is the signal of an active internet connection. If the color doesn’t turn solid, try it to a different phone jack.
- Connect the one end of the ethernet cable to your modem and its other end to the router. As a result, the ethernet indicator lamp will glow up.
- Open the default browser on your computer and it will automatically take you to the CenturyLink internet setup page. If not, then manually type the official web address in the address bar by typing “connect” in front of it.
- After that, check out the network name and password for setting up the WiFi connection. Enter these credentials in the modem’s setup page in the web browser to complete the setup.
Now the finishing touch, contact your ISP to activate your internet connection. They will provide you with an activation date and after that, your internet connection will be activated automatically. You don’t have anything more as you have already performed the necessary procedures before.
Professional Installation Process
The professional installation will generally take off the ultimate responsibility of the centurylink setup and configuration from your shoulders. As a result, you can easily rely on them and stay stress-free. All you need to do is to make an appointment with the professionals. Now, sit back and relax as they will take care of the rest.
When you order the service, make sure that you or anyone close to you must be over the age of 18 should present at the time of the arrival of the professionals. The entire procedure will take near about six hours depending upon the amount of work that is required. If you need to install any additional wires, then the process can need a bit more longer.
You can also track the professionals with the help of a tool that you will get from CenturyLink. With the help of this tracking procedure, you will get a rough idea about the possible timing of their arrival. Apart from that, you also have to make sure that they have easy access to your computer which will play one of the key roles in the setup and installation procedure.
What to do if you Face any Problems with the Modem?
During or after the configuration if you face any type of problematic situation, we have the right solutions for you. The problems might be like modem can get stuck and stop working, too much buffering in the connection, no internet due to the misconfiguration and others.
One of the easiest and effective solutions is resetting the device. Locate the reset button, press and hold it for near about 15 seconds. The power lamp will start glowing in red or orange in color. Wait for some time until the lamp turn amber.
Now you have to perform the configuration procedure by following the steps that are given above. If you see that the connection is buffering too much, it is better that you restart your device. Plug-out the power cord, keep the modem idle for some time and plug it in.
FAQs
Should the lamps of the modem be flashing?
Yes, the blinking of a lamp should flash which will be indicating various functionality issues regarding the modem. The continuous flashing of a lamp means that the modem is trying to connect to the internet. When it turns green, it indicates good internet connectivity. If it turns red, then the modem is not working and needs your attention.
What are the advantages and disadvantages of self and professional installation process?
In self-installation, you don’t have to give extra fees and get an appointment. Besides that, you have to face all the problems all by yourself and take care of it. In the case of professional installation, it’s the technical team’s entire responsibility to take care of everything. Whereas you have to pay extra fees and get an appointment.