You need to set up WiFi on the Arris TG1682G router to be able to use it. The setup procedure comes in handy if you have bought this device and want to start using it.
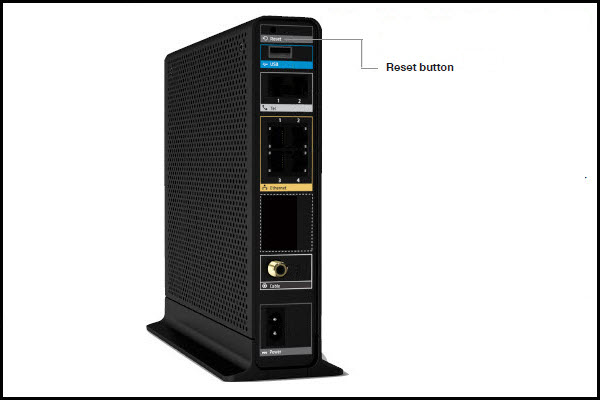
Also, you’ll be needing the setup knowledge if something goes wrong with the Arris TG1682G router and you need to reset it.
Steps To Setup Wireless Connection on the Arris TG1682G
Follow the steps below to perform a wireless setup on the Arris TG1682G router. Follow them sequentially one by one to successfully set up WiFi on the Arris TG1682G.
One: Log Into the Arris TG1682G Router
First, you need to log into the router following the steps provided below.
- First, launch a browser that you prefer and then input the default login IP address – “192.168.0.1” on the URL bar. This action will open the router settings page.
- Once the settings page of the router comes up, next, input the following credentials sequentially – “Username – admin” and “Password – password” and press the ‘Login button. These are the default credentials of the device.
- As soon as you provide the credentials, the settings page of the router will come up with the heading ‘System Basic Setup’.
- Inside that page, move to ‘Wireless Network Name (SSID)’, remove the current name and provide one that you prefer.
- At last, click on the ‘Apply’ button.
Two: Configure the WPA-PSK Wireless Connection
Now, after logging in, you can configure the WPA-PSK wireless connection of the Arris router. To do it, follow the steps below.
- First, go to method one and follow the initial three steps to open the setup page of the router with the name ‘System Basic Setup’.
- Within that page, put a checkmark in the option ‘Broadcast Network Name (SSID)’. Next, go to ‘Security Mode’ and choose the ‘WPA/WPA2-PSK’ option from the drop-down list.
- After that, move to ‘Encryption Algorithm’ and then from the drop-down menu. choose ‘AES’. Now, go to the ‘Pre-Shared Key’ and enter the requisite WPA key.
- At last, click on the ‘Apply’ button and restart the router.
Three: WEP Wireless Connection Configuration Process
You can also connect the router using the WEP or Wired Equivalent Privacy’ wireless configuration. Follow the steps below.
- Go to the first method and follow the first three steps to launch the ‘System Basic Setup’ page.
- Inside that page, go to the top menu and then choose the ‘Wireless Setup’ tab. Under that tab, move to the left pane and then choose the ‘Advanced’ option.
- After that, navigate to the right side of that page having the ‘Advanced Settings’ heading.
- Inside that page, go to the ‘Wireless Mode’ then from the drop-down, choose the ‘B/G mixed’ option and next click on the ‘Apply’ button.
- Next, once again move to the left pane and select the ‘Basic’ option. Once again the ‘System Basic Setup’ page will appear.
- Within this page, keep the name within the ‘Wireless Network Name’ as it is. After that, go to the option ‘Security Mode’ and in it, tap the drop-down menu to choose the ‘WEP’ suboption.
- Now, locate ‘Key Number’ and choose ‘1’ as the option, next, select the ‘64-bits’ option for the ‘Key Length’ field.
- Set the desired WEP key or wireless password for the ‘Key’ field.
- At last, to confirm all the above settings, choose the ‘Apply’ button at the bottom of the router configuration page and restart the device.
This was how to set up the Arris TG1682G router in an easy and simple way.