Network routers, for a long time, have been the preferred method of accessing high-speed internet. Irrespective of whether you want to use it in your home or want to use the same in a busy office setting, this is the most favored choice.
But that does not in any way mean that it will be 100% secure and there can be many different kinds of problems that can arise when using a device like this. If network security is your main concern then you will have to use firewall protection for that.
Luckily, we have Arris network routers that specialize in just this aspect of security. With this, you are going to get proper network protection.
But at times you might need to use some new device and for that, you will need to port forward. Find all the instructions on how to port forward right here.
Why You Need to Port Forward
With Arris routers, you get a basic firewall security feature that will secure the network. This will prevent intruders from accessing the internet through your access points.
But more than that, if there are such intrusions into the network, then that can bring the possibility of data breach among all the other unfavorable outcomes. This is why, if you use Arris routers then that will give you a basic line of defense to that.
Yet, you might need to open up access to that network at times and that is where the idea of port forwarding comes in. With that, you will be able to create an open port. It is through this that you will be able to connect the device that you want to. It is nothing but creating a safe entry point for network access for a device you trust.
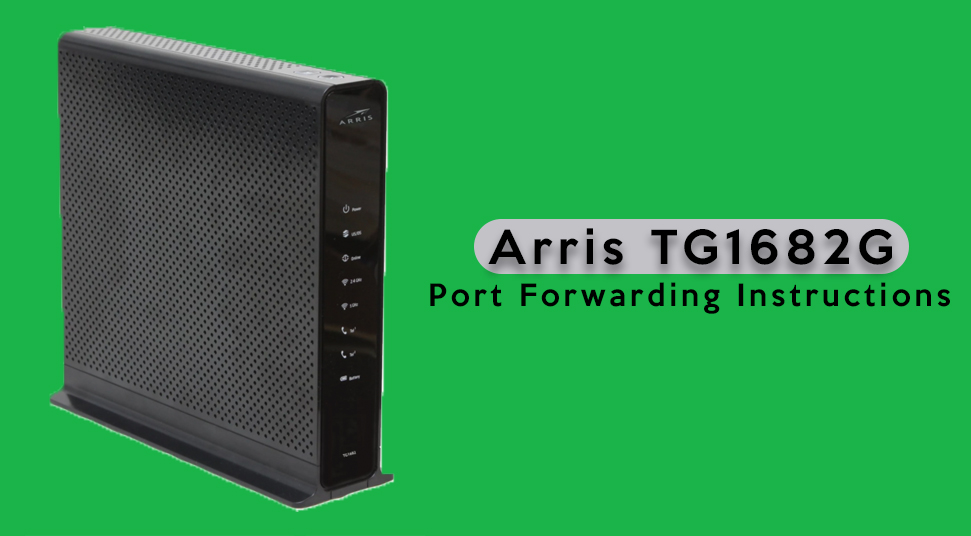
How to Carry Out Port Forwarding in the Arris Network Router
This is by no means a complicated process, and with the instructions that we have given here, you will be able to carry out this operation in no time whatsoever.
All you need to do is carefully go through the instructions before you execute them and make sure to maintain caution as you carry out the steps.
Specify a Static IP Address
This is the first and arguably one of the most important steps of this process. A static IP address is going to be critical when it comes to bypassing the firewall.
This ensures that there is no fluctuations in the authorization information. On top of that, the ports are going to be open even after the system reboots. Here are the steps you will need to set a static IP address:
- Open the Windows Control Panel section and click to expand the Network and Sharing Center option.
- Navigate to the Change adapter settings option and from there, right-click on the type of connection. It will either be a LAN connection or a WiFi connection.
- Now, right-click on it, and from the dropdown list, select the Properties option.
- Then, select the IPv4 option and right-click on it. Open up the Properties section for that in a similar manner as the previous one.
- Click on the Use the following IP address option and after that enter all the necessary information. This generally includes things like IP address, Subnet mask, Default gateway, and DNS server details.
- After you have put in all that information, click on the OK button to complete the process.
Now, you have a static IP address for your computer, and you can proceed to the next step from here.
Login to the Arris Router Control Interface
To tweak the settings of the router, you will have to go to the control interface of the router. Launch the web browser from your computer and in the address panel, enter the static IP address.
Then, press the Enter key to go to that login page of the interface. As that page comes up, enter the username and the password and click on the Login button.
Open the Port Settings Section
Now that you are within the control interface of the Arris router, you will be able to make all the necessary changes from here on. Look for Advanced option on the main screen of the control interface and click on it as you find it.
Underneath this section, you are going to find the Port Forwarding option. Click on it to change the settings that you want to. On this page, click on the + Add Service option.
Change the Necessary Port Settings
Find your way to the Services Name section from the Add Service option. You will have to set a name for the open port that you want to create. You can do that in the Other Service section.
Now, pick the protocol that you need to from the Service Type dropdown list. Type in the Server IP Address option. In case of a single port forwarding, you will need to enter the number 1 for that.
Then, you will have to enter details for the Start Port and the End Port to specify the open port. The former is going to have the lowest value and the latter the highest value. After you have done this, click on the Save button on that window to save the changes you have made.
Conclusion
With the instructions provided above it is going to be a matter of minutes before you complete the process. Yet it is not entirely possible that you do not face any problem in any of the steps along the way.
Thus, feel free to post your queries into the comments section down below. You can also post any other related questions as well. And for similar articles, you can check out our website.