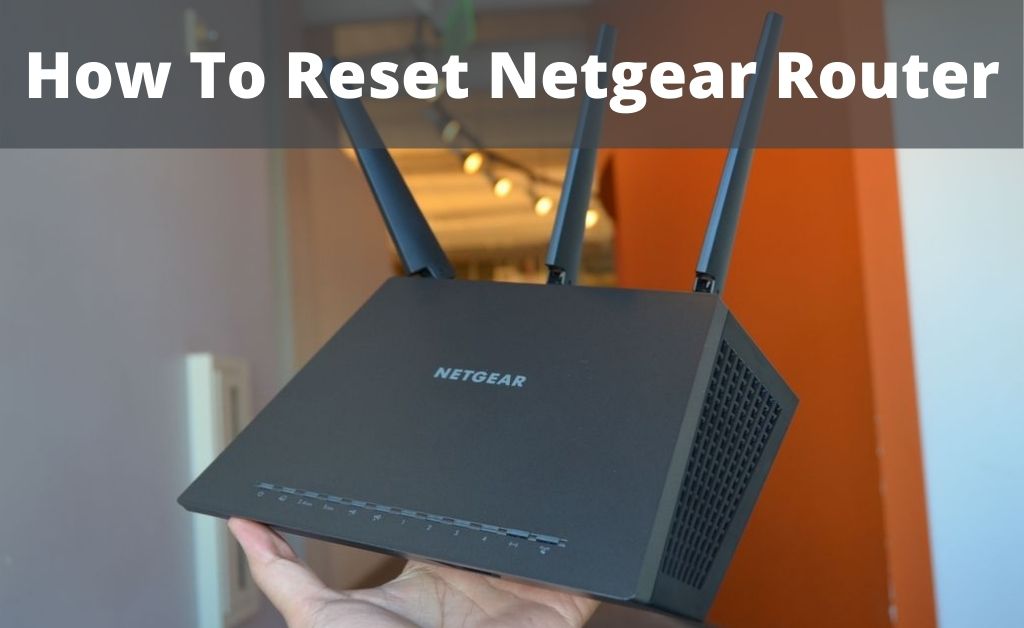
Routers allow all our computers to have access to the same high-speed internet. However, sometimes, they get slow or they just stop working altogether and in most cases, the solution is resetting them.
A factory reset removes all the personal settings including your username, password, security settings, and WiFi network name. So, after a reset, you need to configure them again.
Here, we will be discussing how to reset the Netgear router.
How to Perform a Factory Reset on Netgear Router
Listed below are two effective ways to reset the Netgear router on your computer. Perform and apply them as instructed below:
Use the Reset Button to Perform the Reset on your Netgear Router
Using the Reset button, you can reset the Netgear router on your device. The following steps will help you.
Step 1
At first, ensure that the Netgear router’s Power light is on. After that, you need to locate the Restore Factory Settings or Reset button on the back of the router.
Step 2
You can use a pen or paperclip to access it. To avoid accidental resets, the small button is recessed. Insert a paper clip or pin into the recess to press and hold the Reset button for 10 seconds. Now the power lights will start blinking.
Step 3
Leave the paper clip from the Reset the Button and wait for the router to reboot. Now the router has started the reset process. Once the reset process is done, check if all the router problems are solved and working correctly.
Use the Router Web Interface to Reset the Netgear Router
If the Reset button does not help you, then you can use the router web interface to reset the Netgear router. If you do not know how to do that then follow the steps given below:
Step 1
First of all, open a web browser on your PC or mobile device that is connected to the network.
Step 2
From the Web browser, type www.routerlogin.net in the address bar and then press the Enter button to access the login page.
Step 3
On the Login page, type the Netgear router Username and Password. The router has the default Username as Admin and Password as Password. After typing these details, click on the Login option.
Step 4
Now the Dashboard will display on the screen. From that window, select the Settings tab on the left panel. After that, click on Administration and then select the Backup Settings option.
Step 5
On the Backup Settings tab, locate the Erase button, click on it under the ‘Revert to factory default settings’ section.
Step 6
Once the Backup Settings pop-ups, click on the Yes option to confirm the reset. Now the reset process will begin and the power light will be blinking in green or white color. After completing the reset process check if the problem you were facing is fixed or not.


