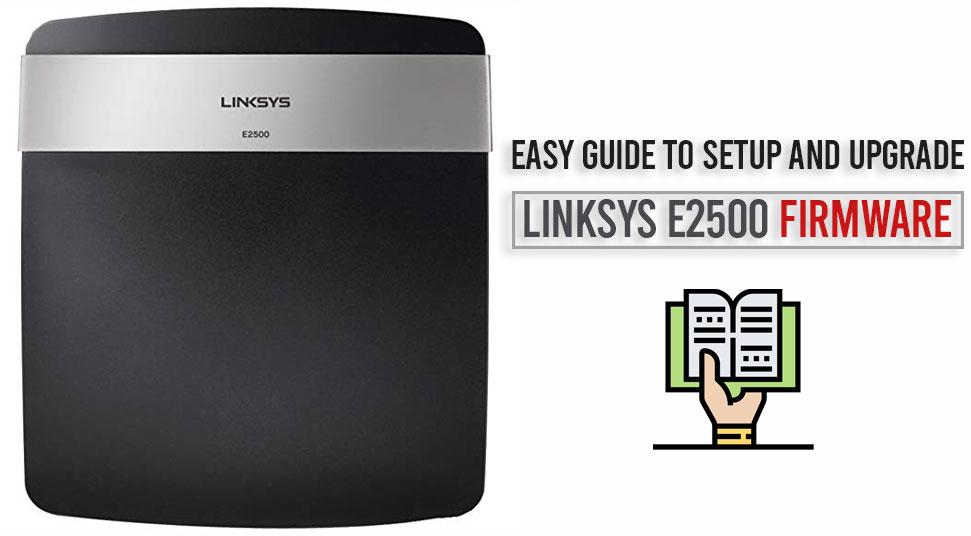
The E2500 is the best budget router from Linksys. It has some great features which are generally found in flagship routers. The E2500 has MU-MIMO support which is surprising to see in such a low price. Also, it has dual bands to support both 2.4GHz and 5GHz frequency. Since it has advanced features like these, many users prefer it also because of its design aesthetics. If you have bought Linksys E2500 Router recently or just planning to buy one, you have come to the perfect place. RouterGuide is here to help you with the Linksys E2500 Setup process. RouterGuide will provide step by step guide so that you can set up your router and enjoy the fast internet without network drops.
How to get started with Linksys E2500 Setup?
There are different ways to access the Linksys E2500 Setup, but this article is going to do it through the browser-based utility as it is the easiest way. Before getting started, let us have a look at some basics. Routers have different ports for network connection. The yellow marked port is a WAN port used for internet source line and all blue ports are LAN ports used for connecting computers. Having said that, let us move to the next step.
Steps to Configure the Linksys E2500:
- First of all, plug the router to a power source. After that, connect the router to your PC using an Ethernet cable. Also, connect the internet line to the WAN port. Keep in mind and connect the PC to the blue port on the router. If the router is properly connected to the PC then a LED indicator will constantly blink on the router. If so, move on to the next step.
- Open Control Panel on your PC and go to Network and Sharing Center. There, click on Change Adapter Settings in the left pane. It will show your network card which will detect the router. Right click on the adapter and select properties. Here, search for IPv4 setting under the Networking tab and open it. Choose ‘Obtain IP address automatically’ option and click on Save. Now onto the next step.
- Exit the window and open a browser. Type 192.168.1.1 and hit enter. Since this is the first time you are accessing the router’s setting, you don’t have to enter the username. Just enter the password as admin and click on Sign In button. After successful login, move to Setup menu and select Basic Setup.
- Under Basic Setup, few things are already defined by the router for quick processing. Next, enter a name of your router which will be used for WiFi. Here you have to fill DHCP, IP address and subnet mask which will be provided to you by your Internet Service Provider(ISP).
- After filling all the details, restart the router and exit the browser. Now you have successfully set up Linksys E2500.
How to Upgrade Linksys E2500 Firmware?
If you have recently bought this router, then the first thing besides initial setup should be Linksys E2500 firmware upgrade. Firmware is basically the Operating System for the router which is used for managing the data packets. If your router is on the latest firmware, then there is very less chance of data leak while transmission. All the security loopholes are also fixed in firmware upgrades so it is always best to have the router on the latest version.
Steps for Linksys E2500 Firmware Upgrade:
- First of all download the latest firmware from the Linksys website for E2500 model. Go through the page and select your hardware version and download the file. It will be of .bin extension and save it in your preferred location.
- Secondly, open the browser and type 192.168.1.1 and hit enter. It will open the homepage of the Linksys Router. If it asks username then keep it blank and just enter password admin. Next, click on log in and it will take you to the setup page. Here, click on the Administration tab on the top-right corner.
- Under Administration tab, click on Firmware Upgrade menu. It will ask for a file. To upgrade Linksys E2500 Firmware, click on the Browse tab and select the downloaded file. Do note that you should do this operation only from your PC connected through Ethernet cable and not through WiFi. Moving on, after selecting the file just click on Start Upgrade.
- It will start the upgrade process. Do not interfere with the ongoing process otherwise, your router may be damaged. After completion, the router will reboot with the new firmware.
Troubles Faced by Users while Setup and Firmware Upgrade
- If you are unable to open the setup page through 192.168.1.1 then try 192.168.0.1. It may have happened that a different IP address is assigned to the router.
- If the Router is unable to verify the password, then you have to reset the router. Press the reset button on the back for a while and release it. The Router will reset itself and then you can use the default password without any issue.
- During Linksys E2500 firmware upgrade, if you are uncertain about the hardware version then look for it in the retail box. The hardware version is generally written on the bottom of the box.
- If you are getting some error while upgrading the firmware then you might be downgrading it without knowledge. To verify, open 192.168.1.1 and log in. Check the current firmware on the top-left corner. Compare the firmware version with the downloaded file and decide whether to upgrade or not.
Wrapping Up
These are some of the easiest ways you can upgrade the Linksys E2500 Setup. RouterGuide have tried to cover the issues as well. If you are having any trouble, just follow the guide diligently. I hope this easy guide was helpful to you and you could eventually set up the router without any difficulty.


