Home wireless routers come in handy when you are willing to establish a wireless network. Sometimes, at certain corners of your home, the network drops. Quite a hectic situation indeed, right? In such cases, an extender will resolve the issue. But, the matter of fact is that you need to know the IP address for TP-Link extender.
Knowing the IP address of the extender will not be enough. Apart from that, you need to know how to synchronize and configure the extender. Furthermore, after the process, testing is also necessary to check whether the extender serves the purpose or not.
Configuring the TP-Link Wi-Fi Extender
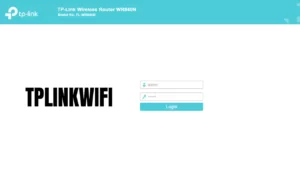
The IP address of TP-Link extender is present somewhere on the brand label of the product or its package. You need to find it out. Now, connect the extender with the Ethernet cable to your computer and open the extender user-interface page. Hopefully, you have all the network data and the IP address for the TP-Link extender with you. Navigate to the LAN settings and place all the network data in its desired place.
The Router to Extender Synchronization
Plug out the Extender and replace it with the router. Navigate to its user interface and access the “Wireless Quick Setup” mode. From the “Operation Mode” drop-down menu, select “Range Extender” as well as the region where you belong to. After that, search and wait for it to track your location. Your last step is to open the root router’s SSID list. Find out the Extender and click on “Connect” and save all the changes.
Initiating the Security
After the synchronization process is complete, connect the router to the Extender with an Ethernet cable. The cable’s one end will go to the LAN port, and the other end will go to the extender’s WAN port. Once again, open the Extender’s user interface and apply the version of WPA2-PSK. The encryption must be AES along with an encrypted passphrase.
The Extender Diagnosis
All the vital procedures with the IP address for TP-Link extender are over. Now, it’s the time for the diagnosis. Run the Extender user interface and check whether the Extender IP is working correctly or not. In addition to that, check all the other data and start the diagnosis. After some time, when the result appears, you will see a couple of replies. It’s the ping that is coming from the extender’s IP address. Carefully observe the time – if it is more than 1, then your network connection is facing ping loss.
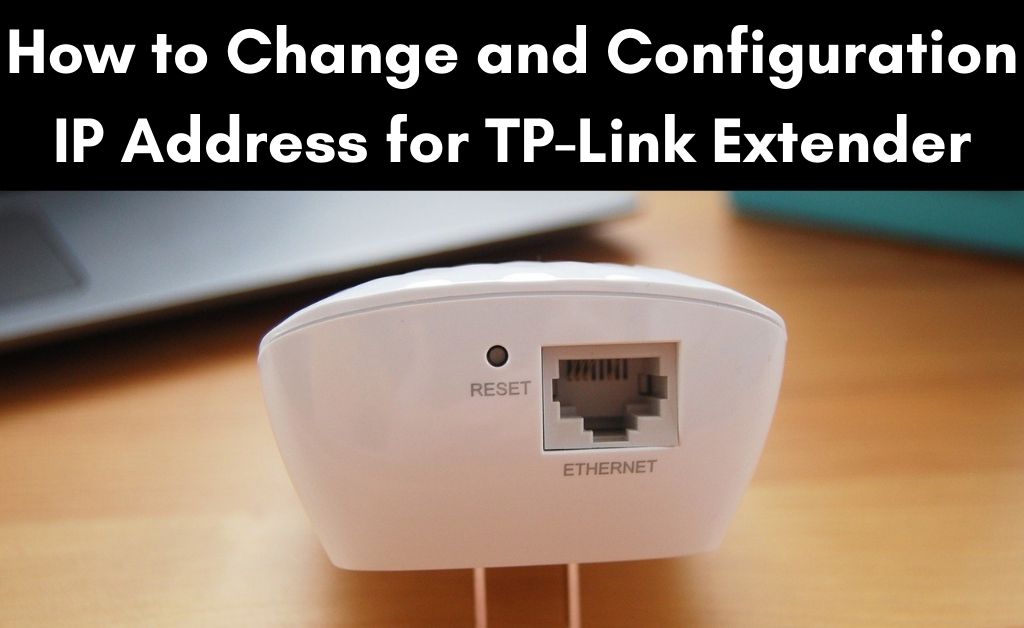
Can you Change the Extender IP Address?
Yes, of course. You can easily change the IP address for TP-Link extender. The change will only take place when you are switching to another Extender. It is quite easy. Navigate to the router user interface and access the LAN settings. Select Range Extender, and then input the new extender’s IP address and delete the previous one. After that, save the changes.
What about the System Configuration?
Through the above-mentioned methods, you have dealt with the router and the extender function. So, what can be the system configuration regarding the IP address for TP-Link extender? You need to navigate to the Control Panel or Settings. After that, access the IPv4 in the Network Settings and activate “Obtain an IP address automatically” as well as “Obtain DNS server address automatically”.
Is a Repeater Necessary?
To answer this question, you need to test the Extender’s frequency. If you see that the low-frequency issues are still there, then you might need a repeater. In order to use a repeater, first, you need to configure it. There are two methods: One is the configuration via the WPS button and the other is via a web browser. Press and hold down the WPS button for 2 minutes. On the other hand, you need to type “http://tplinkrepeater.net” on your web browser. After that, follow the instructions on the computer screen to finish the task.
Common Problems and Solutions of the Extender
The IP address for TP-Link extender has every chance to face issues while it is in service. The most common issue is the IP address not working properly. The only symptom is when you are unable to open the extender’s user interface. In order to fix the issue, you need to reset the extender. If the issue still persists, check the ping of your network connection by making a direct link with the system.
Lastly, if there are manufacturing defects, you need to send the device to the authorized service centre for repairs. Other than that, you can witness a slow internet connection. Regarding this matter, check the ping once again and carefully follow the time of the data packet transmission, for example, 1 ms or 2 ms. Lastly, to avoid any network issues, make sure you update all the network drivers to the latest version.