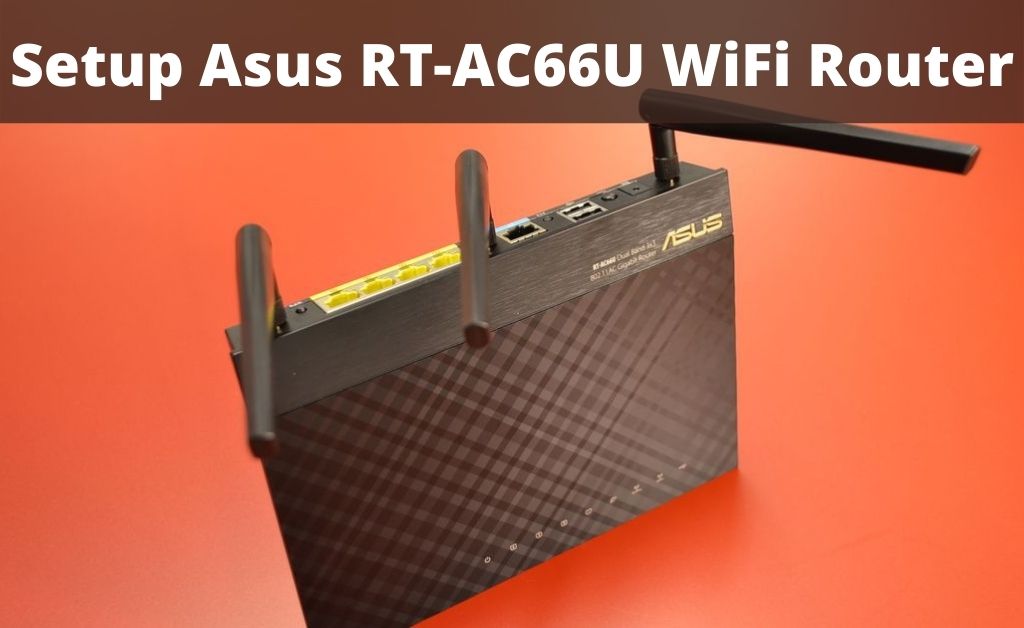
In this computing market, the Asus RT-AC66U is one of the in-demand 802.11a/b/g/n routers. Multiple users prefer this device due to its fast and easy-to-use interface. Moreover, the quick internet setup makes it easy for all users to enjoy the RT-AC66U capabilities within a small time frame. Therefore, if you recently purchase this device for getting an uninterrupted wireless connection, then you might be wondering how to set it up? Hence, check out the underlying section to determine the entire Asus RT-AC66U setup process.
How to Setup the Asus RT-AC66U Device in a Flawless Manner?
Here are the instructions that should be followed in order to set up the Asus RT-AC66U device. Follow these instructions and try to execute the entire setup on your own.
Basic Instructions for Creating the Network:
In order to get the smooth wireless signal transmission between the network devices and wireless router, you must ensure the following things.
- Place the Asus RT-AC66U in the centralized area for maximum coverage for all the wireless devices.
- Keep away the device from direct sunlight and away from the metal obstructions
- In order to prevent signal loss or interference, try to keep aways the device from Bluetooth devices, 2.4GHz computer peripherals, transformers, refrigerators, microwave ovens, and other industrial equipment.
Prerequisites:
In order to set up a wireless router, all you need a computer that met the following requirements:
- IEEE 802.11a/b/g/n/ac wireless capability
- Ethernet RJ-45 (LAN) port (1000BaseTX/10Base-T/100Base-TX)
- An installed TCP/IP service
- Default web browsers like Firefox, Safari, Internet Explorer or Google Chrome
Setting up the Asus RT-AC66U Device:
Here are the instructions for both wired and wireless connections. Choose the one as per your system requirement.
Steps for Wired Connection
- Initially, plug the Asus RT-AC66U device’s AC adapter into the DC-IN port and insert it into a power socket.
- Use the network cable in order to connect the wireless router to your computer or laptop.
- Connect the modem’s AC adapter to the DC-IN port and attach it to a power outlet.
Steps for Wireless Connection
- Connect your wireless device to the DC-IN port and attach it to an electric outlet.
- Connect your modem to your router’s WAN port by using the bundled network cable.
- Attach the modem’s AC adapter to the DC-IN port and connect it to the power socket.
- In the next step, install the IEEE 802.11a/b/g/n/ac WLAN adapter on your device.
Try to Mount to the Stand:
In order to mount to the stand, align and attach the stand’s mounting hooks to the Asus RT-AC66U device’s mounting holes.
Turn off the Proxy Server:
If the proxy server is enabled on your device, then go through these instructions.
Steps for Windows Users
- Head over to the “Start” menu and hit Internet Explorer in order to initiate the web browser.
- From the appeared menu, choose “Tools” and tap on the “Internet Options”.
- Navigate to the “Connection” tab and launch the “LAN Settings”.
- Deselect the “Use a proxy server for your LAN” option from the Local Area Network (LAN) Settings screen.
- Once done, hit the “OK” button from the appeared menu.
Steps for Macintosh Users
- Open the Safari browser and head over to the “System Preferences”.
- Hit the “Advanced” tab and initiate the “Change Settings” section.
- Under this section, try to locate the “FTP Proxy” and “Web Proxy(HTTP)”.
- Once located, deselect both of the options and hit the “Apply Now” button.
Modify the IP/TCP Settings to Obtain Automatically an IP Address
Follow these steps to modify the IP/TCP settings to obtain automatically an IP address.
Instructions for Windows Users
- Press the Windows logo along with the R key to invoke the Run window.
- Inside the dialog box, write “Control” and hit the “OK” button.
- After accessing the Control Panel, head over to the “Network and Internet” and initiate the window named “Network and Sharing”.
- Try to launch the “Manage Network Connections” and choose the “Internet Protocol Version 4 (TCP/IPv4)” or “Internet Protocol Version 6 (TCP/IPv6)”.
- Invoke the “Properties” menu and make an attempt to obtain the “IPv4 IP/ IPv6 IP settings”.
- Therefore, place a tickmark to the “Obtain an IP address automatically”.
- Hit the “Apply” button twice to save the recent modifications.
Instructions for Macintosh Users
- Hit the “Apple” icon that is present at the top left corner of the screen.
- Navigate to the “System Preferences” and hit the “Network Configuration window.
- Try to initiate the “IP/TCP” tab and hit the drop-down menu to select the “Using DHCP the configuration IPv4”.
- When done, choose the “Apply” button.
Disable the Dial-up Connection:
If the dial-up connection is enabled on your device, then follow the steps to disable it.
- Go to the Start and open the Internet Explorer.
- Head over to the “Connection” tab and hit the “Never dial a connection” option.
- Save the changes by tapping on the “OK” button.
Configure through Web GUI:
Carry out these instructions for configuring the wireless router through Web GUI.
Try to Login to Web GUI
- Open a web browser on your computer and enter your router’s default IP address. Asus RT-AC66U’s default IP address is 192.168.1.1
- Once the login page comes up on the screen, mention the accurate Username and Password. The default Username and Password for Asus RT-AC66U device is “admin”.
- When the router’s web GUI launches, make the necessary changes according to the system requirements.
Set up the Internet connection via QIS (Quick Internet Setup):
- On your machine, initiate a web browser.
- The Asus RT-AC66U detects automatically if the connection is PPPoE, Dynamic IP, Static IP, L2TP.
- Mention the SSID and Password for your 5 GHz and 2.4 GHz wireless connection.
- When done, your wireless and internet settings are shown on the screen.
- Hit the “Finish” button once the process is over
Setup the Wireless Security Settings:
- Enter 192.168.1.1 inside the web browser.
- Enter the correct login credentials.
- Once the Map screen appears, hit the “System Status” icon to display the wireless security settings such as encryption settings, SSID security levels.
- Under the Wireless Name, enter a unique name and go towards the Security Level.
- Mention a security Passkey and hit the “Save” button.
Manage the Network Clients:
- Initiate the Asus RT-AC66U’s web GUI.
- Choose the “Client Status” icon from the Network Map screen.
- Now, determine all the required information regarding the network clients.
How to Setup VPN on Asus RT-AC66U:
Are you wondering how to set up a VPN on the Asus router? Follow these instructions to execute the task.
Step 1: Invoke the wireless router setup menu and head over to the “VPN” that is located on the left side of the screen. Choose the “VPN Client” from the appeared menu and hit the option titled “Add Profile”.
Step 2: Now, choose OpenVPN and key in all the necessary information inside the VPN window. Hit the “Browse” button from the result-oriented window in order to add the OpenVPN configuration.
Step 3: In the next step, select the correct server location config and hit the “Upload” button. After a while, you will be promoted to choose the “Activate” button. Further, proceed to tap on the “OK” button and now you are connected.
Frequently Asked Questions:
-
How do I Modify my IP Address?
Go to the “Start” menu and enter “Cmd”. Open the Command Prompt with administrator privileges and key in “ipconfig /release” inside the window. Hit the “OK” button to run the command. This command will redirect the current IP address. Furthermore, enter the following command inside the Command prompt and hit the “OK” button. “ipconfig /renew”. Now, you will be assigned a new IP address.
-
How do I Make my DNS Automatically?
Navigate to the “Settings” and hit the “Connections”. From the appeared menu, choose the “Wi-Fi” icon and initiate the “Manage Network Settings”. Initiate the Show advanced options and be sure to set the “IP Settings” to “DHCP”. Save the changes by tapping on the “Yes” button.