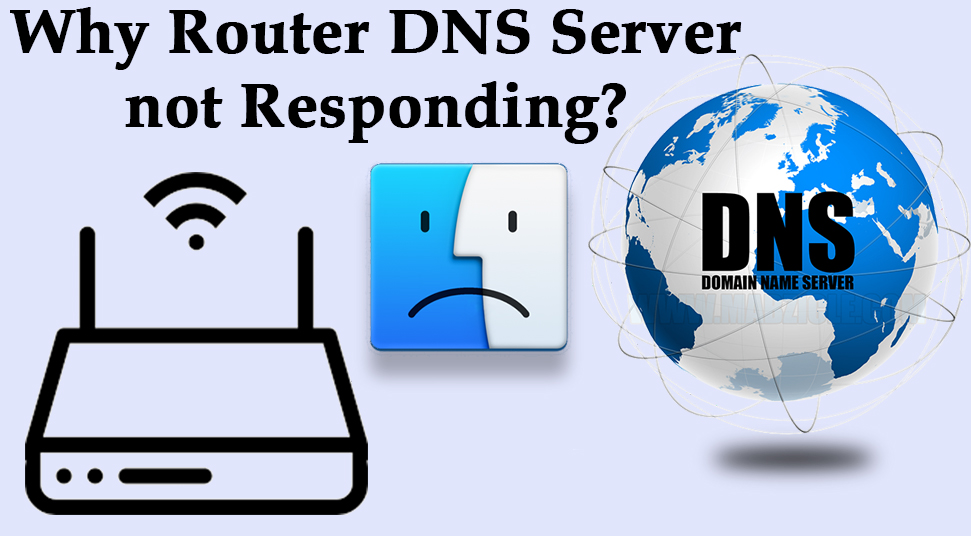
The DNS server is the most necessary component of the Internet. While connecting a device to the home network or business network, the internet connection might drop at times. It might display the “DNS server not responding” error message as well.
There can be various factors responsible for this error. This includes network or connection issues, misconfigured DNS address, Internet protocols, and many more.
If you are currently encountering this error, then you need to apply a few troubleshooting measures to resolve it in no time.
How to Resolve when DNS Server not Responding on Windows 10?
Below are the most convenient hacks that you can try to resolve the DNS server error. So, check them and apply the appropriate method to get rid of the situation.
Method 1: Boot Device in Safe Mode
Booting your device in Safe Mode can be the simplest way to resolve the DNS server error. A majority of users claim that after booting their device in Safe Mode the DNS error gets eliminated. In order to proceed with this method, carry out the undermentioned steps.
- Initially, press the “Windows On/Off” button. While pressing it, hit the “Shift” key and choose the “Restart” option.
- Choose the “Troubleshoot” button and launch the “Advanced” options.
- Navigate to the “Start-up Settings” and hit the “Restart” button from the menu.
- In the next screen, various boot options will be available.
- Choose “Safe Mode” and follow further instructions. Now, the device will boot in Safe Mode.
After booting the device in Safe Mode if the DNS server error still appears, then try out the next method.
Method 2: Manually Reset DNS Server
While accessing a certain website, you will connect to your ISP’s DNS server automatically. But, at times, the DNS server refuses to respond due to internal bugs and glitches. Resettings the DNS server can prevent this situation. So, follow the steps in order to reset the DNS server manually.
Press the combination of the Windows logo and X key. From the resulting window, select the “Network Connections” and try to find your network connection.
Now, hit the “Properties” icon to invoke the window. Afterward, tap on the “Internet Protocol Version 4 (TCP/IPv4)” from the Properties window. Launch the “Properties” window again and enter the following DNS server addresses.
- Preferred DNS server: 8.8.8.8
- Alternate DNS server: 8.8.4.4
Alternatively, you can also enter 208.67.220.220 as the Alternate DNS server and 208.67.222.222 as the preferred DNS server. After you reset the DNS server, the error should be removed from your device.
Method 3: Type the MAC Address on a Manual Basis
After resetting the DNS server if the error still bothers you, we suggest you enter the MAC address on a manual basis. To do so, follow the instructions underneath.
- Press the Windows logo along with the R key to initiate the Run window.
- On the Run dialog box, write “cmd” and hit the Enter key.
- Right-tap on the “Command Prompt” and choose the “Run as administrator”.
- Once the Command Prompt invokes in Admin Mode, write “ipconfig /all” and hit the Enter key.
- Further, locate the “Physical Address” and write it down. Once you are done with it, close the “Command Prompt” window.
After performing these instructions, you need to configure the network connection. For this purpose, launch the “Network Connections” window and go to its “Properties”. Thereafter, choose the “Configure” and navigate to the “Advanced” tab.
Further, from the Property List, tap on the “Network Address” and choose the “Value” option. Type the value on the text bar and hit the “OK” button to save the new modifications.
We hope after performing this method, you will be able to resolve the error of the DNS server not responding.
Method 4: Reset the Router
Resetting the router or modem might also help to resolve the DNS server error. In case, there is an “On/Off” button on your router, just press the button and wait for a few seconds.
If there is no “On/Off” button, then remove the power supply from the router. Once the router boots up, verify if the error gets eliminated.
Moreover, there might be a problem with the router configuration, which may trigger the issue. To resolve this, try to set the router to its default settings.
So, visit the router’s configuration web page and look for the “Reset” option. After you locate the “Reset” option, tap on it. Also, keep in mind that resetting the router will change the device’s security key as well.
Method 5: Install the Device Drivers
If you do not update the device drivers for a long time, the occurrence of such DNS server errors is quite a common event. To get rid of such situations, you must install the latest versions of device drivers.
- Under the Run dialog box, write “devmgmt.msc” and hit the Enter key to execute the command.
- Once the Device Manager invokes, attempt to locate the “Network adapter”.
- After you find it, right-tap on it and select the “Uninstall” button.
- Afterward, from the confirmation dialog box, put a tick mark to the “Delete driver software for this device” checkbox.
- Once the drivers get removed, reboot your device. When the device boots up, the default drivers will be installed on your device automatically.
After installing the latest version of the device drivers, check whether the DNS server is responding or not.
Method 6: Uninstall the Installed Antivirus Software
Antivirus software tends to interfere with the regular operations and causes multiple problems. Due to this, you may find the DNS server not responding on Windows 10. On such occasions, we suggest you disable the installed antivirus and verify if it helps.
- Locate and choose the “Antivirus” icon that is situated under the notification section of your Windows taskbar.
- From the pop-up menu, choose the “Disable Auto-Protect” option.
- Once the “Security Request” dialog appears, choose the duration for which you want to disable the protection.
- Once done, hit the “Apply” button as well as the “OK” button to save the new changes.
After disabling the antivirus suite if the DNS server error still appears, it is recommended you uninstall the software from your device.
Instructions to Uninstall Security Suite
Here are the steps:
- Tap on the “Start” icon to invoke the “Start” menu. Now, go to the “Settings” and look for the “System” icon.
- Go to the left pane and choose the “Apps & Features”. Here, you will find all the installed applications that are enlisted.
- From the available list, choose the antivirus applications one by one. Now, right tap on them in their respective manner and hit the “Uninstall” button.
- From the confirmation window, choose the “OK” button. When you are done with this instruction, close the window.
Once the uninstallation process is over, reboot your device to let the new changes take effect.
Method 7: Turn off the Microsoft Virtual WiFi Miniport Adapter
In this procedure, we suggest you disable the Microsoft Virtual WiFi Miniport adapter. Now, carry out the undermentioned instructions to proceed with this solution.
- Invoke the “Device Manager” and hit the “View” option.
- In the next screen, choose the “Show hidden devices”.
- Next, search for the “Microsoft Virtual WiFi Miniport Adapter”.
- After you locate it, right-tap on it and hit the “Disable” or “Turn Off” button.
- From the pop-up window, choose the “Yes” button to save the changes.
Note- Repeat the similar instructions for all Microsoft Virtual WiFi Miniport Adapter on Windows 10.
Method 8: Try to Update your Router’s Firmware
Several users claim that they get stuck with the message regarding the DNS server not responding while using a wireless network. But, this problem can be easily resolved by updating the router’s firmware. To proceed with this fix, follow the underlying steps.
- Launch the default browser and go to the router’s official web page.
- Write the login credentials like username and password.
- After you access the router settings, invoke the “Advanced” tab.
- Next, gain the Administrator’s rights and hit the “Router Update” or “Firmware Update” button.
- Press the “Check” button and the router will look for the available updates. Make sure you do not interrupt the process in between.
Further, stick to the instructions that are shown on the screen in order to complete the installation process.
Method 9: Turn off the Windows Firewall
At times, Windows Firewall can block the DNS server that results in making the DNS server non-responsive. To overcome this, it is recommended you turn off the Windows Firewall. Follow these steps to apply the method.
- On the Run dialog box, write “Control” and hit the Enter key to run the command.
- Choose the Control Panel from the appeared menu. Under the Control Panel, locate and choose the “System and Security link”.
- Now, look for the Windows Firewall and choose the “Turn Windows Firewall on or off” option that is present on the left pane of the screen.
- Tap on the “Turn off Windows Firewall” and hit the “OK” button.
- Hit the “Yes” button when you’re prompted to confirm the process.
After turning off the Windows Firewall, reboot your device to verify whether the DNS server error has been resolved or not.
Method 10: Try to Utilize netsh Command
After turning off the Windows Firewall, if the DNS server error still appears, try to use the netsh command. Launch the Command Prompt in Admin Mode and enter the following commands.
netsh int ip reset
netsh winsock reset
ipconfig /flushdns
ipconfig /renew
Make sure you hit the Enter key after entering each command. After executing these commands, reboot your device to let the new changes take effect.
Method 11: Disable the Additional Connection
If you can notice more than one network connection available on your device, then try to turn off the other connections. To do so, carry out the instructions underneath.
- Invoke the “Start” menu and “Network Connections”.
- Next, navigate to the “Settings” and look for the “Network & Internet”.
- Next, choose your connection and hit the “Change adapter options” from the right pane of the window.
- Proceed to right-tap on the other connection and hit the “Disable” option.
- Apply the same steps to deactivate all other secondary connections.
After disabling the additional connections, the DNS server must begin responding.
Method 12: Deactivate Windows Update Peer-to-Peer Feature
Version 10 comes with Windows Update Peer-to-Peer feature that allows the users to save download bandwidth. Using this feature, users will be able to install the Windows Update and spread the updates to all machines on your local network.
But, this feature can conflict with the DNS server and make the DNS server stop responding. To prevent such occasions, try to disable the Windows Update peer-to-peer feature. Go through the underlying instructions to execute the solution.
- Invoke the “Settings” and go to the “Update and Security” from the menu.
- Next, launch the “Advanced” options and hit the “Delivery Optimization”.
- Thereafter, uncheck the “Allow downloads from other PCs” option.
- Save the recent modifications by tapping on the “OK” button twice.
After deactivating the Windows Update peer-to-peer, the DNS server error should be eliminated from your device.
Method 13: Turn off the Internet Protocol Version 6
There are two different kinds of IP addresses: IPv6 and IPv4. If you still face DNS server error, then you can overcome the issue by turning off the Internet Protocol Version 6. So, go through these instructions to proceed with this hack.
- Invoke the “Network Connections” and go to the “Properties” window.
- Under the “Properties” window, locate and select the “Internet Protocol Version 6 (TCP/IPv6)”.
- From the resulting menu, choose the “Disable” button to deactivate it.
- Save the changes by tapping on the “Yes” button.
Hopefully, the above-mentioned methods will resolve the DNS server error and you can access the Internet without any further network problems. If the DNS server issue still troubles you, wait unless the Internet service provider resolves the error.


