The web interface of the Wavlink Range Extender is considered as the Control Panel of the device. It’s where all the settings are stored. So, if it is required to make any necessary changes in the router settings, then you will have to access the router login page first. This is where it is essential to know the steps to perform the Wavlink setup. But, If you are unaware of how to perform this, then the below section can help you a lot. Here we are going to provide some easy steps that can help you to perform the setup process on your own.
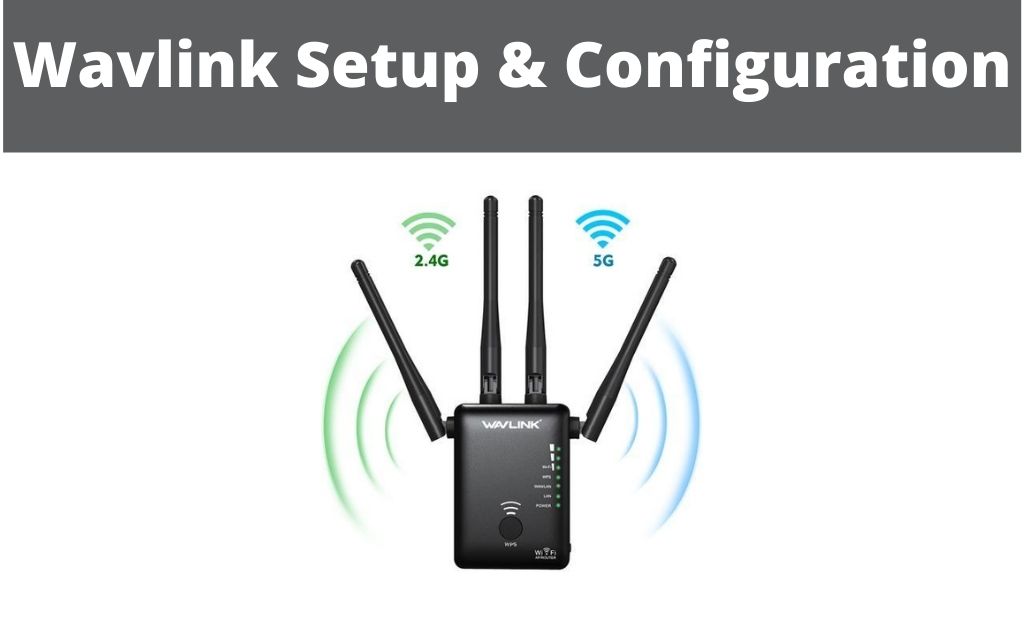
Easy Steps to Perform Wavlink Wi-Fi Extender Setup
It is quite easy to set up the Wavlink Range Extender. You can do this easily by using the WPS button. Following are the steps that can help you to perform Wavlink AC1200 setup:
- First of all, press the WPS button of your wireless router.
- Then, press the WPS button of the Range Extender within 2 minutes.
- Wait for a few seconds until the LED indicator changes to solid blue color. It indicates that the WPS connection is successfully established.
- Now, the Range Extender will start searching for the available network.
- Choose the appropriate wireless network from the list and tap on the Connect button.
Now, you have completed the Wavlink setup successfully.
How to Login to the Web Interface of Wavlink Router?
Before applying the below steps, make sure that you have the access to the network. It doesn’t matter you have access through the wireless network or through the LAN cable. Now, you can perform the steps as follows:
Step 1:
First of all, make sure that you are connected to the Wavlink router. To open the setup page of the Wavlink router, you must need to be connected to its network. So, connect to its network either through an Ethernet cable or through Wi-Fi.
Note: If you are unaware of the password of the wireless network of your Wavlink router, you can connect it by using an Ethernet cable. It doesn’t require a password.
Step 2:
Next, open a web browser on your computer and then go to the address bar. Type “192.168.10.1” and hit the Enter key from the keyboard to log into the web interface of the Wavlink router.
Step 3:
After that, you will be asked to enter the login credentials. Type the Username and Password in the respective field and then tap on the ‘Sign in’ button. Or if you prefer, you can also hit the Enter key from the keyboard to do the same.
That’s it. Now, you will be able to configure anything you want in your Wavlink router.
Frequently Asked Questions:
What to do if the Wavlink Router Stops Working After Making any Changes on the Configuration?
If you make any changes in the router configuration mistakenly and if that breaks your home network, then you can go back to the initial settings by performing a hard reset of the device.
Usually, it is the last resort. It can help you to revert the device to its default settings. To do this, press the Rest button of the device by using a sharp pin object. Hold it for a few seconds and leave it. Once the device turns ON, it will get back to its default settings.