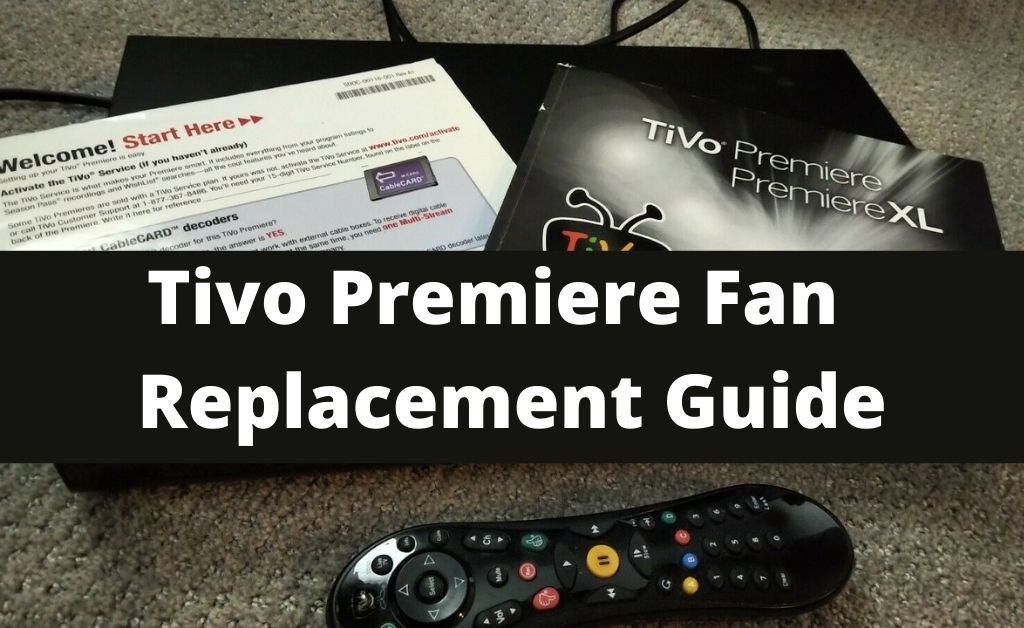
The Tivo streaming device has a cooling fan to control the temperature. And, this premiere fan can stop working or start to make loud noises. Replace this DVR unit in such situations and continue streaming. Don’t use a faulty fan, and it could damage the device’s internal parts. Install a new Tivo Premiere fan instead, which works with the DVR. Check the Tivo device’s model number and get the right cooling fan. However, replacing the Tivo Premiere fan might be challenging.
Don’t intervene in the replacement process if you don’t have technical skills. Have you replaced a DVR fan before? Then, assemble the required tools, like screwdrivers and tape. Additionally, you need a flat-headed brush to clean the Tivo Premiere fan.
Sometimes, this Tivo unit fails to work when dust accumulates. Remove the dust or dirt particles and reinstall the fan and check if that works.
Don’t know how to install a new DVR fan? Follow this tivo premiere fan replacement guide to know that.
What Do You Need for the Tivo Premiere Fan Replacement?
The Tivo users need to take safety precautions before replacing the fan. Wear gloves and eye protection to do the replacement job.
Have you used the Tivo device for more than 3 years? Then, you will need a new compatible cooling fan. However, you can reinstall the existing one if you recently bought the DVR.
Additionally, you will need a flat-headed screwdriver and a security screwdriver. These tools are designed for D-I-Y replacement works. Or, you can get Torx screws; these are highly available on the market.
Easy Steps for Tivo Premiere Fan Replacement
Turn off the Tivo device by pressing the remote’s power button. Do you use the latest Tivo device? Then, search for the “TV power” button and wait until the power light stops flashing. Or, you can simply hold the boxer’s “Power” button for a few seconds.
Follow these instructions when Tivo Premiere powers off:
1. Open the Tivo Premiere Case
Unplug the power cord from the Tivo box and wait for at least 5 minutes. Don’t plug in the cable until you replace the fan. Place the box on a table and unscrew the four Torx screws using the security screwdriver.
Didn’t get the Torx screws? It is located in the front panel of the box. The screws’ position might vary from one Tivo Premiere DVR to another. Moreover, you will find four more screws in the panel.
Don’t unmount them from the DVR box now. Remove the lid after taking out the Torx screws. However, opening the case can sometimes be difficult. Try to slide the cover back and then up to remove it easily.
2. Disconnect the Drive Bay
Can you see the hard drive inside the box? Now, it’s time to disconnect it from the device. But, you need to locate the motherboard and the multicolored power cable before that. Additionally, the Tivo Premiere users need to find out the fan cable. It will be between the motherboard and hard drive.
Remove the fan cable gently from the motherboard. Moreover, you need to look for the pesky screw that connects the drive bay to the grommets. Check behind the power cable to get this screw. Remove this screw using a Torx driver by moving it counter-clockwise. Then, unmount the two screws on the drive bay’s left panel.
3. Remove the Hard Drive’s Cables
Lift the Tivo Premiere’s drive bay once you remove all the screws. And, slide it out of the two holes on the right side of the drive bay. Find the drive and power cable connected to this unit. The Tivo Premiere users have to disconnect these cables afterwards.
The Tivo device’s power cable is plugged into the hard drive with a white connector. Remove the power connector and cables by moving them back and forth.
Do you have a Tivo Premiere box with two factory hard drives? Then, you have to remove the power cables from both drives.
Additionally, you need to remove the hard drive cable from the drive bay. It will be grey, black or blue and attached to the connector. Remove the plastic cover from the hard drive to unplug this cable. And, you will now see no cables running to the Tivo Premier’s hard drive.
4. Remove and Replace the Fan
Remove the two screws attached to the fan using a flat-headed screwdriver. Moreover, you need to check the fan cable’s location and how it is placed. Remove the faulty fan cable and insert the new one through the hard drive bay’s hole.
Place the fan to the bracket using the screws included with the Tivo Premiere fan. And, ensure to check the directional arrows printed on the fan. Otherwise, you may install the Tivo fan in an incorrect place.
These arrows show the direction of the fan’s airflow. Follow these arrows for a hassle-free Tovi Premiere fan replacement process.
5. Connect the Power and Hard Drive Cables
Connect the power cables to the drive after installing the Tivo Premiere fan. Additionally, you need to be sure the power connector is aligned properly. Plugin the IDE hard drive cake to the drive bay.
Do you use a Tivo Premiere device that has two drives? Then, connect the middle connector to the secondary device. And, the end connector to the master drive. And, check whether the cable is attached to the drive correctly. It should not bend on any of the hard drive pins.
6. Reconnect the Drive Bay
Turn the drive bay over carefully and insert the two pins on the blue grommets’ right. You also need to connect the power connector and the grey hard drive. Tuck the power, hard drive and fan cable inside the drive bay gently. Mount the two screws of the hard drive using the Torx screwdriver.
Insert the fan cable into the Tivo Premier’s motherboard. The DVR’s motherboard has two pins. Attach only one red/black cable if the fan cable has three wires and three-pin connectors. Ensure the pin with the yellow cable hangs over the motherboard connector.
Lastly, Re-Attach the Tivo Premiere Case…
Place the device’s lid back and align the clips on each side of it. Slide the case in the front while pushing down the top of the lid. Install the fruit Torx screws of the box using a screwdriver. Connect the power cable to the wall outlet. Turn on the device and watch your favorite shows, movies and videos.