Setting up your router and customizing it requires you to access its interface. As you might know already, the default IP address plays a crucial role in that. You need it, along with your router’s admin credentials, for accessing the web interface.
Does your router have a dedicated app? If it does, then you can use it alternatively for admin login.
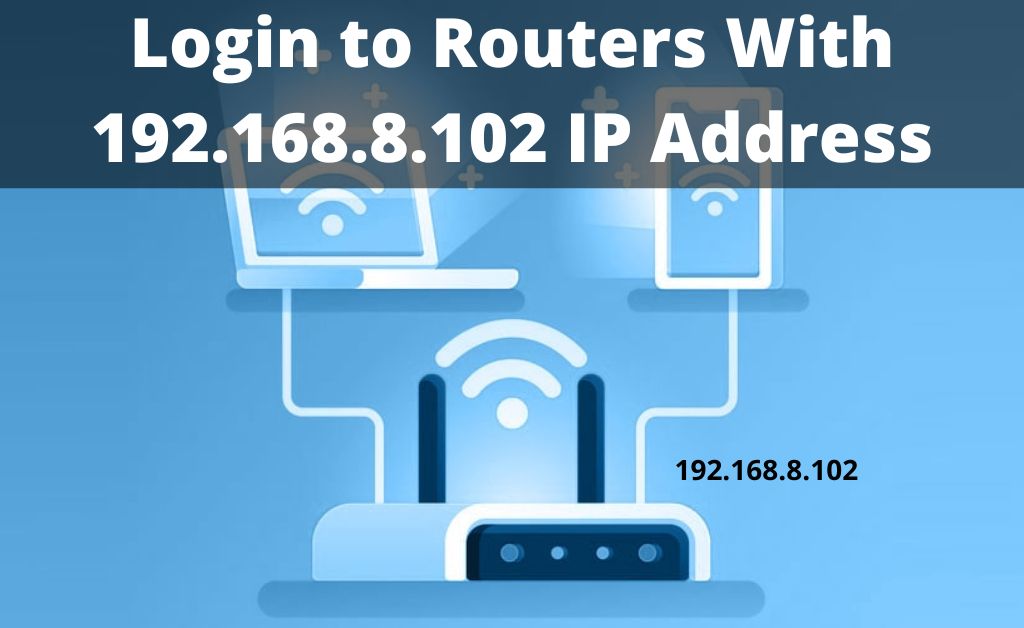
You can check your router’s default IP address on the label pasted on it. Does it show 192.168.8.102? Then, that is the address you must use to reach the router’s login page. Follow the instructions given here if you are wondering how to proceed with that.
Router Admin Login Through 192.168.8.102
You can access your router’s web interface in a few simple steps. All you need for that is your router, an ethernet cable and a computer with a browser. So, you do not need an internet connection on your device for this task.
Accomplish the login with the following steps once you have the necessary requirements:
Connect the Router to Your Computer
A browser admin login relies on the connection between your computer and router. Moreover, you must set up only an ethernet connection with your router for this task. So, connect the ethernet cable firmly to both devices to continue with browser login.
Enter “192.168.8.102” In Your Browser
Open the browser you prefer after you have connected your computer to the router. Then, enter your router’s IP address in the search bar to open the login page. If you cannot reach the page, ensure you have entered the right address.
You cannot open the login page unless you have entered the IP address as it is. Once you complete this step, you can easily access your router’s web interface using the admin credentials.
Use Your Admin Name and Password
You must use the default credentials for your router if you are accessing it for the first time. If it is already set up, you must use the customized credentials. Enter the admin name and password to open the router interface on your browser.
If the login fails, you have probably used the wrong credentials. Also, take the necessary steps if you have forgotten your router’s password.
Confirm Whether Your Router’s Default IP is 192.168.8.102
Users are often mistaken regarding their router’s default IP address. In such cases, they would repeatedly fail to access their routers. Are you facing a similar problem while trying to open the login page? Then, you must make sure you are using the right IP address.
If the router’s label does not help, you can check its manual for the default IP. Alternatively, you can also use a connected device to know the default IP address.
On Windows
You can check your router’s default IP address from your PC’s Settings section. Go to the Network & Internet section and click on the Status option. Then, click on ‘View hardware and connection properties’ to view the router’s details.
Check the address given next to ‘Default Gateway’ there to know the default IP. If it does not show 192.168.8.102, that explains your router login problems.
Alternatively, you can use the Command Prompt to find the default gateway. Run it as an administrator and enter “ipconfig” when prompted, then check the value given next to ‘Default Gateway’.
On Mac
The process for finding the default IP address is quite simple on Mac devices. Open the System Preferences and open the Network section there. Find and select your router’s network on the left side of the window. Check your device’s connection with the router if you cannot find the latter in the Network section. Open the Advanced section of your router’s connection once you can access it.
The Advanced section contains several tabs containing various router details. You should find the default gateway under the TCP/IP tab next to Router. Copy it to your web browser to successfully open your router’s login page.
On Android
You can also use an Android device to check your router’s default IP. Open the WiFi section in the Settings and click on the connected router’s network. Then, opt for ‘Manage Network Settings and view the advanced options. Select the Static IP option and check the Gateway section to find the default IP address.
On iOS
Open the Settings section on your iOS device and select the connected router network. You should find the default gateway on the new window by scrolling down. Note it down if you need to and use it for the router login.
How to Change Your Router’s Default IP Address?
You need not necessarily keep using 192.168.8.102 as the default IP and can change it. To do that, you must log in to your router with the aforementioned steps. Then, open the IP address section on the admin interface to change the default gateway. The steps for doing that might differ depending on your router. However, the procedure for changing the default IP is the same on all routers.
You can enter any value you want to in the place of the default IP address. Also, make sure to save the changes once you are done. You must then use the new IP address you have created for opening your router’s login page. Usually, you do not need to change your router’s default IP. But, in case you have to, the aforementioned method is the only way.
Access Your Router Remotely Using the App
You must install the mobile app for your router if the manufacturers have provided one. After all, it can be quite useful to you in various situations. Many router apps allow you to report network problems to the service provider. Also, they allow you to access the router’s interface anytime and from anywhere. And, that can help you control your router even when you are away from it.