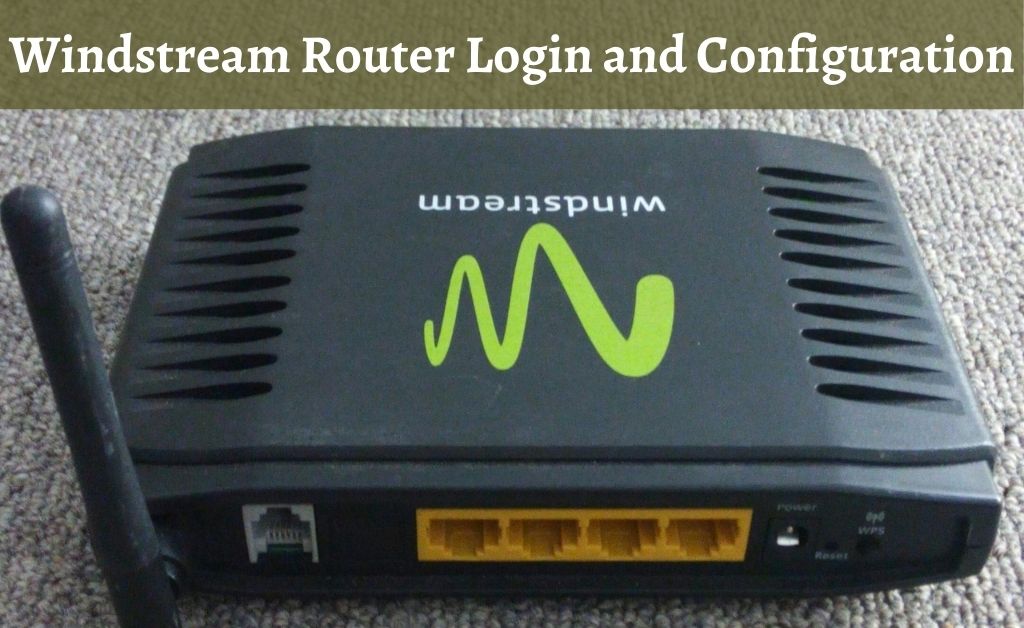
Setting up a router is not that easy as it seems. You need to understand the network device well to use all the features. In addition to that, the Windstream router login and configuration process are also necessary. Windstream, the telecommunication organization builds routers to establish home and office networks.
The subsidiary routers of the Windstream network technology contains NETGEAR Nighthawk AC1900, Motorola MD1600, Actiontec GT784WN, TP-Link TD-8816 ADSL2+ and others. So, if you have one of these Wi-Fi routers, then the login and configuration process will be helpful for you.
The Windstream Router Login: The Beginning
Before you begin, make sure that the router and the system are running properly. In addition to that, it’s better that you clear up all the residual files like cache and cookies. This will help you to open any webpage easily.
Unboxing and Creating Connection
It seems that you have bought a new router. So, unbox the device and make sure all the peripherals are in the correct order. Power on the router and check whether all the notification lamps are glowing or not. If you have a desktop, then use the dedicated Ethernet cable to connect both the computer and the router.
Use of the Router IP Address
The default router IP address is the only doorway to access the main user interface. In the other words, it is also known as the router management interface. Find and write down the router IP address at the default browser. When the Windstream router login page opens, just select “Login” as there are no passwords pre-assigned.
Setting Up the Network Configuration
With the help of the desired network information like IP address, default gateway, and many more, you have to complete the configuration process. Before that, check — Is your internet connection static or dynamic? If it is dynamic, the manual configuration will be helpful. In the case of static, the internet connection will configure the router automatically.
Verify the Security Checkpoints
Apart from the Windstream router login process, securing the device is also important. Thus, you have to set a strong password to safeguard the router. The password that you will set can be in a rhythmic structure, as it makes it easy to remember. In addition to that, a mixture of letters, numbers and special signs can provide an encryption method. This type of password cannot be decrypted easily.
Connecting to the Network
As the Windstream router login and configuration process is over, now it’s your turn to connect to the internet. Navigate to the ISP login page, enter the ID and Password. If you want to check the speed of the internet connection, ask your ISP to provide all the details.
How to Login to Windstream Router?
- Open any web browser and type http://192.168.254.254 in the address bar.
- Enter the Username: admin and Password: admin then click Login.
- You will be logged in to the Windstream router main page.
Note: The Router IP Address, Username, and Password will be printed on a label on the back of your router.
How to Change Windstream Wi-Fi Password and Name?
Select Your Router:
- Actiontec
- Sagemcom
- 2-Wire
- Arris
- Comtrend
Actiontec
- Log in to the Router’s user interface.
- Select Wireless Settings.
- Go to Wireless Settings > Basic Settings.
- Enter any Wi-Fi Network Name in the SSID Name field.
- Select Security Key Type as Use Custom Key/Passphrase and enter your Wi-Fi Password in the field.
- Click Apply.
Sagemcom
- Log in to the the Modem’s interface.
- Select Wi-Fi/Wireless settings.
- Enter any Wi-Fi Network Name in the SSID field.
- Enter any secure Wi-Fi Password in the Password field.
- Click Apply.
2-Wire
- Log in to the gateway’s interface.
- Select Home Network > Wireless Settings.
- Enter any Wi-Fi Network Name in the Network Name field.
- In the Wireless Network Security section, select Use custom encryption key.
- Enter any secure Wi-Fi Password in the Key field.
- Click SAVE.
Arris
- Log in to the gateway interface.
- Navigate to Wi-Fi > Wi-Fi Home.
- Enter any Wi-Fi Network Name in the Network Name (SSID) field.
- Enter any secure Wi-Fi Password in the Password field.
- Click Save.
Comtrend
- Log in to the router’s interface.
- Go to Basic Setup and select Wireless from the left-hand side menu.
- Select 2.4GHz or 5GHz > Basic.
- Enter the Wi-Fi Network Name in the SSID field and click Apply/Save.
- Select 2.4GHz or 5GHz > Security.
- Enter any secure Wi-Fi Password in the WPA/WAPI passphrase field and click Apply/Save.
The Router Wireless Settings: Necessary Changes
Certain changes in the wireless settings are important at this point. So, let’s check them out:
Replacing the Old Name of the Router
If you ever feel that the router’s name needs to be changed, you have to navigate to the General settings. The router’s name is generally denoted as the SSID, remove the name and assign a new name in its place. After that, hit on “Apply” to save the desired settings.
Changing the Encryption Type and Password
Navigate to the router management page and visit the “Network Settings”. Whatever the default connection type is, it must restrict the intruders, therefore, you need to select WPA/WPA2. It’s the strongest and safest encryption method that a router can use. Once again, navigate to the “General Settings” and change the password.
The Smart Steering: A Temporary Turn Off
The collection of routers that uses the network technology of Windstream has the facility of Smart Steering. The feature automatically switches between the network clock rate to provide you with an uninterrupted connection. During this process, your ongoing network activity might get hampered, so move to the “Wireless Setup” and disable the Smart Steering.
The Wireless Feature: Deactivate Temporarily
A router has the capability to transfer the data packets to its connected device wirelessly. Similarly, it also has the power to deliver data packets through an Ethernet cable. If you face too many glitches regarding the wireless activity, you can easily turn it off.
You have already visited the router management page during the Windstream router login and configuration process. So, once again you have to visit it, and deactivate the radio button (2.4 or 5.0 GHz) and “Apply”.
Port Forwarding: How a proper Router Configuration can help?
Port forwarding is the process of redirecting a path of a requested communication to the desired address or a port number. The method of port forwarding comes in handy when you are trying to send any media files to any of your friend’s computers.
As usual, navigate to the router user interface. Search each tab and find out the option of port forwarding. Now, the option of “LAN Device” must be there. Select which ports you want to open. Try to understand every port and its significance to avoid any intruder access.
If the main internet cable is directly connecting your and your friend’s system, then there is no need to forward the port of the router.
How to Deal with the Router Issues?
A router can face multiple issues. For example, unexpected freezing, loss of data packets, unable to connect to the internet and many more. The one way to resolve it, by rolling back the router to its factory condition.
After finding out the Reset button, press and hold it for a couple of seconds with the help of a paper clip. Now, leave the device as it is. Hence, follow the above procedure to establish the connection and re-configure the device.
You can also go through the router’s user manual. It will definitely help you to avoid random issues, and also to keep up with the router’s performance.