You can use your wireless router as a DHCP server in small enterprises or home networks. However, multinational or international companies should have a dedicated DHCP server, connecting the router with multiple devices easily.
One must know the DHCP’s function before enabling or using it. It is a protocol generally used to assign unique IP addresses to the devices connected to the router’s network.
Enabling the DHCP server helps an individual to avoid unwanted network interferences. Small business owners must find the default IP address before using the router as a DHCP server.
An incorrect password or username will prevent you from enabling DHCP. Therefore,
knowing the router’s login credentials is important. You can find these details easily on your wireless router’s backside or contact the Internet Service Provider to get them.
Let’s learn the easy steps to use your router as a DHCP server:
How to Convert Your Router into a DHCP Server?
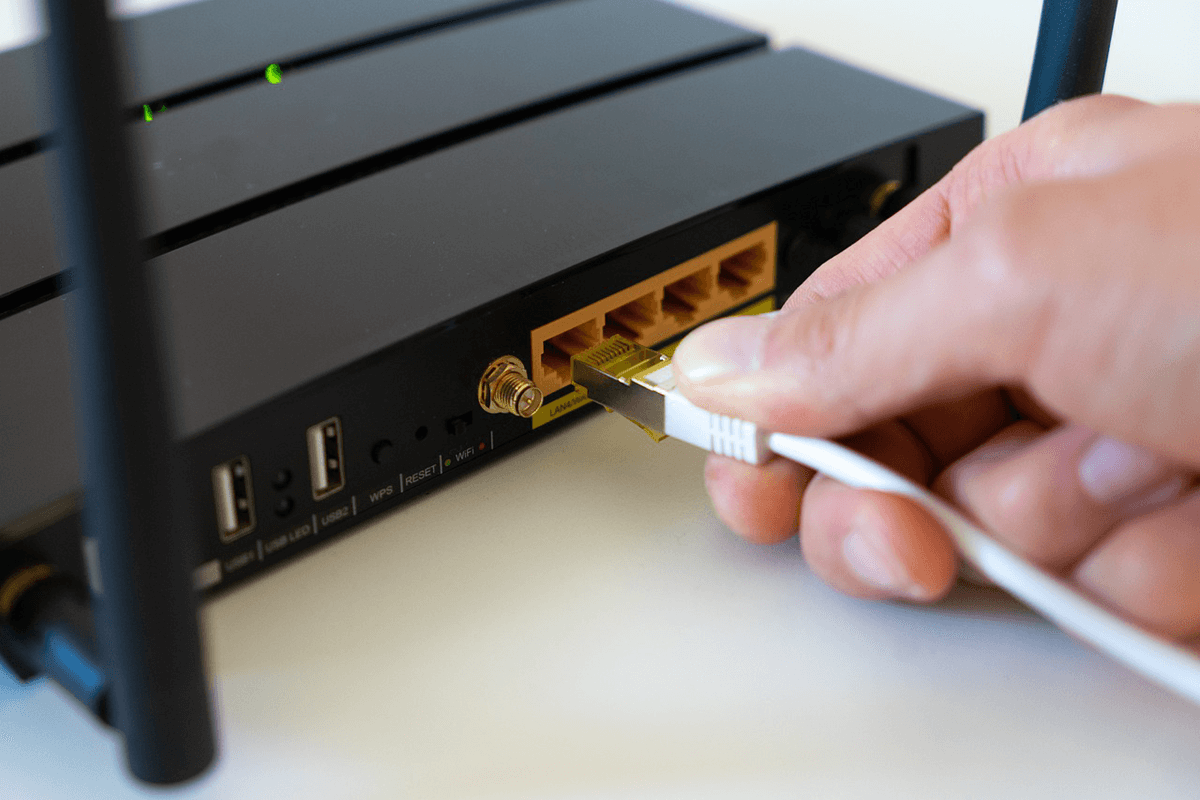
Connect your Wi-Fi router to the computer using an Ethernet cable and place the modem close to them. Ensure all the router status lights are in a static position. Restart the networking device if the internet or power LED is red or blinking orange.
Follow these step-by-step instructions to enable or use your router as a DHCP server:
1. Find the Router’s default IP Address
The steps to find the router’s IP address might vary from one computer OS to another. Press the Windows and X keys simultaneously and select “Run” from the built-in tools list if you use a Windows PC.
Write “cmd” in the pop-up window and press the Enter key to select the “OK” button to open the Command Prompt. Copy and paste the “ipconfig/all” command line in the black window and hit Enter. Scroll down to the default gateway to check your wireless router’s default IP address.
Is there Another Way to Check Your Router’s IP Address?
Press the Windows and S keys simultaneously and write “control” in the search panel. Select “Control Panel” from the search results and navigate to “Network & Internet” from the next window.
Select the View your network properties option from the page’s bottom. Scroll down to the new window and find “Default gateway”. Your Wi-Fi router’s IP address will be next to the Default gateway option. Copy and Paste this address, as you will need it to use your router as a DHCP server.
How to Check Your Wireless Router’s IP address from a Mac laptop?
Access your MacOS device’s Apple menu and choose System Preferences from the drop-down list. Head towards “Network” and locate the Advanced option. Head to the “TCP/IP” section and search for “Router”. You will see a number next to Router – your Wi-Fi router’s default IP address.
2. Enter the Router’s IP Address
Click on the Chrome icon from the desktop if you have a Windows 10/11 computer. The Mac device users must open the Safari browser. Go to the Chrome or Safari’s address bar, write the IP address, and press the Enter key to access the login page.
3. Provide Your Router’s Login Details
Enter your Wi-Fi router’s password and username on the web page. Hit the Enter key or select the Log in button to access the router’s web interface. Did you receive a “The site can’t be reached” message? You have entered incorrect login information.
Double-check the username and password on the router’s login page. Ensure there is no space between the letters or numbers in the password. If you forget the Wi-Fi password, consider resetting your wireless router.
4. Locate the DHCP section
The DHCP option is in different sections on different Wi-Fi router settings pages. For instance, some routers have this feature under the Network Settings section. If you can’t find it there, go to “Advanced Settings, “Setup”, or “Local Network”.
5. Turn Your Router into a DHCP Server
Head towards the DHCP server settings section and navigate to “DHCP Server”. Tap on the Enable switch to use your router as a DHCP server. You will see a checkbox or button next to “Enable” on some router’s web interface to turn on the DHCP server.
You might have to Disable the DHCP server and select “Enable” from the pop-up menu in some routers. Additionally, users can set the number of devices they want their routers to connect with. Allowing 2-3 devices will help you to maintain internet speed and reduce overheating, improving the router’s performance.
6. Save the Recent Router Changes
Tap the Save button or Apply option after enabling the DHCP server option from your router’s settings page. Some router pages display the Save Settings option instead of “Save” or “Apply Changes”.
Save the recent router changes and restart it after 2-3 minutes. Your wireless router will automatically assign IP addresses to connected devices on the network once it turns on. Power cycle the networking device if it generates connectivity issues after enabling the DHCP server.
Benefits of Enabling the DHCP Feature from Your Router’s Setup Page
There are several benefits of using your router as a DHCP. It removes the hassle of manually configuring the connected device’s network settings. Additionally, managing and maintaining a Wi-Fi network becomes easier. So, you must enable the DHCP server for better and simplified network management.
It improves network security by limiting the device’s connection number to the router. What are the other benefits of using your router as a DHCP server? You can prevent unauthorized users from accessing your Wi-Fi network.
Besides, DHCP lets the router users add or remove the devices from the network easily. If you change the IP address, users accessing the guest network can’t see it.
The DHCP-assigned IP addresses remain valid only for a limited time. Clients can’t use these addresses after the DHCP lease time. Thus, you must renew the DHCP server before the lease period arrives. The router will start allocating unique IP addresses to devices after the renewal.