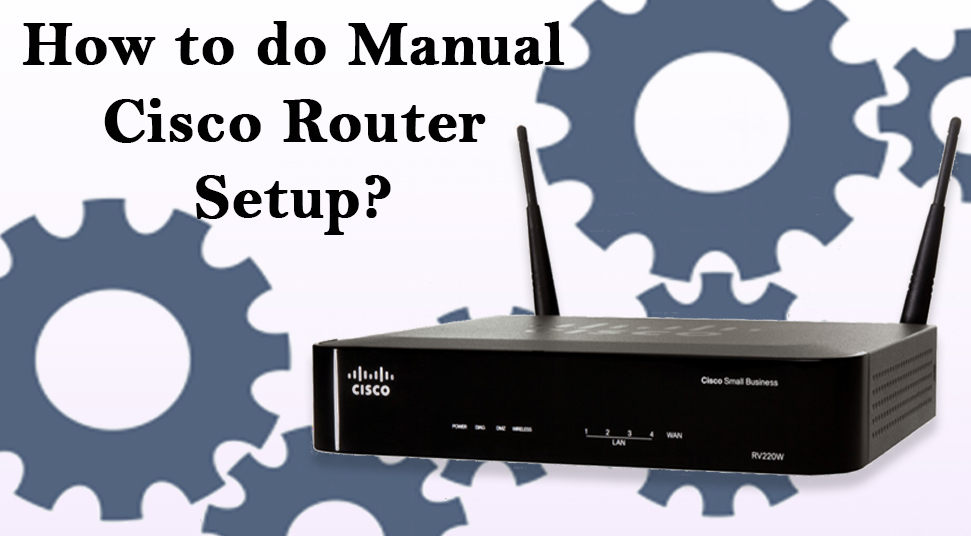
If you are using a Cisco router for the first time, take note that, just buying router is not enough. You need to set it up properly as well. Otherwise, it will leave your network unstable and vulnerable users. On that note, if you need any assistance on “how to set up a Cisco router?”, then you have incidentally dropped on the right page. Utilize the hacks and tricks which are provided here and gain the know-how of the setup in full.
Easy Steps to Setup Cisco Router
Here are some easy steps, using which you will be able to perform the setup Cisco router process. On that note, try to follow these steps:
1. Connect the Router to the PC
The first thing which you need to perform is to connect the router with the PC and start the terminal emulation program. The port settings are 9600,8, N,1:
- Firstly, use the command “enable” in order to go to the privileged EXEC mode. Once you are done with the steps, you need to type the command “erase startup-config”, to get a blank configuration.
- After that, you need to restart the router using the reload command.
These steps will be a confusing one for you. If you are using Cisco devices.
2. Identify the Router’s Interfaces
In order to perform these steps, at first, you need to know which Ethernet port you are using for what purpose. So, you need to look at the back portion of your router. You need to connect one Ethernet port to your WAN device like a cable modem and the other one with the LAN. In case if you are using an 851W, then you will be able to see that the ports are labeled for you. FastEthernet4 is the WAN interface and FastEthernet0 through FastEthernet3 are the LAN interfaces. The 851 consists of a built-in four-port switch, these are the four LAN interfaces. On the off chance, you might figure out that, the interface of the router is yet to be labeled, use this command- show ip interface brief from privileged EXEC mode to find the names.
3. Configure the IP Address
From this step, you will be able to start the actual setup. It is still in the privileged EXEC mode ( if not, then you need to enter the enable command). Now, start the terminal configuration mode using “configure terminal”. Type the command “no ip domain lookup”. In order to prevent IOS from outputting syslog message in the console which you are using. Now, you will be able to set up an IP address for the LAN interface. In case, if you are using 851W, you will need to perform this action on a virtual interface which is usually known as BVI1 and which relates to the physical interface. In other routers, you need to perform it on the actual physical interface.
Configuration Steps:
Type “interface “. In order to enter the configuration mode for that interface. In the case of 851W, the command was “interface BVI1”. Once you are done with the previous steps, you need to assign the interface an IP address: IP address. If you are using 192.168.100.1 with a Class C mask, then your command will look like this one: IP address 192.168.100.1 and 255.255.255.0. You can also use Classless Inter-Domain Routing (CIDR) notation which you prefer and it will look like this: IP address 192.168.100.1/24.
4. Setup Access Lists and Configure Basic TCP/UDP/ ICMP Inspection
When you are able to perform all of these steps, you need to set up the access list of LAN interface and the second one will be for the WAN interface. Once you have completed the access process you need to configure the basic TCP/UDP/ ICMP inspection using these steps:
- First, you need to set up a TCP SYN timeout to help mitigate SYN flood DoS attacks: IP TCP synwait-time 30
- This command will tell the Cisco Internetworking Operating System to drop any TCP session which is not established within 30 seconds.
- Next, you have to set up an inspection rule for each ICMP, TCP, and UDP using these commands:
- IP inspect name InspectRule ICMP
- IP inspect name InspectRule TCP
- IP inspect name InspectRule UDP
- Once you complete the whole process, you need to apply the access lists and inspection rules and exit from the Window. And finally, set up NAT to translate the address between the internal 192.168.100.0/24 network and the public Internet.
3. Enable interfaces, and disable STP And Test Configuration
Once you complete all of the steps you need to enable interfaces and disable STP And Test Configuration and then save the configuration. In order to save the configuration, type “copy running-config startup-config”.
Now, you can copy paste the configuration which you have saved in a text editor for further references.
These are some important steps which you need to follow to set up your Cisco router. Hope you have implemented all of the steps in the proper order.


