Cox Communications is arguably one of the top-notch providers in the country with services across 18 states. The broadcast coverage includes high-speed internet, cable, digital phone, and home automation service. The coverage area is more prominent in Arizona, California, and Virginia. Cox internet has a coaxial cable network and gets you speeds up to 1 Gig.
You can subscribe to the Cox internet plans and stream HD videos, download movies, play online games without any interruption. For cable TV, the lineups are tailored to meet the demands of every household.
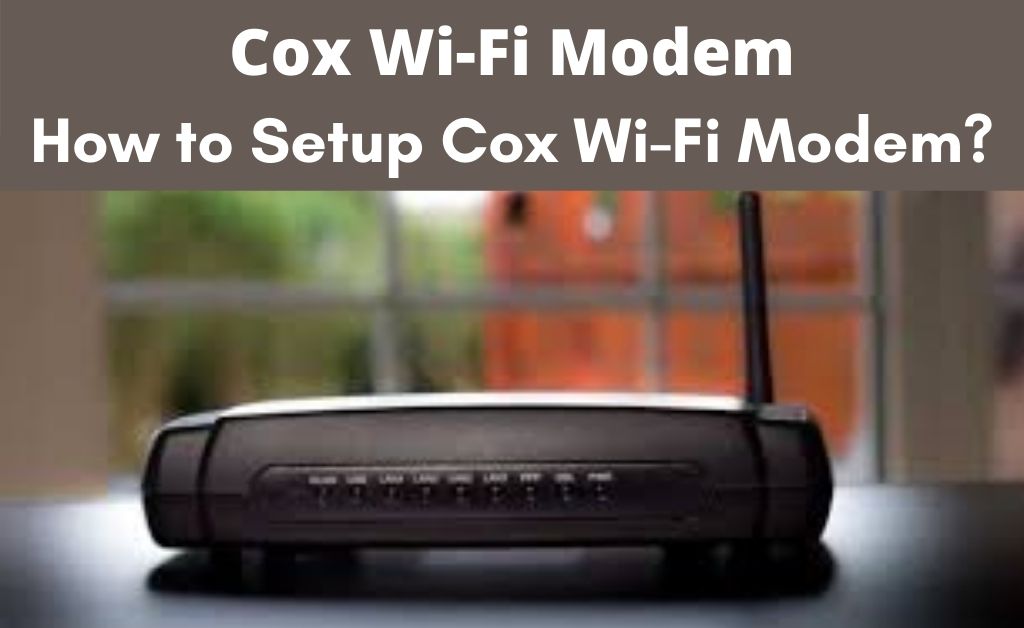
Installing your Cox Wi-Fi modem might be a challenge if you have not done it earlier. We created a comprehensive guide to Cox’s self-installation.
Installation Guide
No matter what internet plan you have, the installation is the same. Cox Communication has a two-in-one Wi-Fi modem known as Wi-Fi gateway. You can connect your computers with Ethernet cables and wireless devices through Wi-Fi. A single device can do everything.
Here are the steps:
- Make yourself familiar with the equipment: For self-installation, there are two options. If you want to set-up the internet the same day of the order, you can pick it from the nearest Cox store. If you can wait for 3-4 days, you can get it shipped at your address. Nevertheless, however you receive the equipment; check the contents of the box. You will find a Cox Wi-Fi modem, power adapter, coaxial cables, instructions manual, and a cable filter.
- Find the ideal spot: Wi-Fi placement is very crucial if you want seamless connectivity in your house. Place your modem in a central spot so that you can cover all corners equally.
- Plugin the coaxial cables: Once you have chosen a perfect spot, make sure that it has a cable outlet. Connect the cables that come in the box to the wall outlet. Connect the other end to your equipment.
- Plug-in your adapter: Power your Wi-Fi modem with an adapter. Plug-in your adapter to a socket and connect it with your equipment.
- Check the indicator lights: The Cox gateway has wired and wireless connectivity. However, you have to wait until all the indicator lights on your device are stable. Once you have powered the device, this step may take up to 5-10 minutes. The Wi-Fi modem will reboot many times.
- Connect to the network: Once all the indicator lights on your device are solid, now is the time to connect your smartphone with the Wi-Fi. You can also use a computer or laptop.
- Enter the password: The self-installation package includes a Quick Reference Card. This paper contains your SSID or network ID and your password. If the card is not there, you can also find it on the backside of your modem. It is usually listed as Network ID and Key.
Account Activation
Setting up your account is another important step of installation. You can activate the account by calling customer service. However, it is more convenient to take matters at hand. The activation is quite simple and we have created a step-by-step guide for activation as well:
- You can use your laptop or smartphone for the activation. Just open your browser.
- Copy/paste this link in your browser and visit the site.
- Select the state from the menu when the page loads. It may prompt you to enter the name of your city.
- While setting up the internet service, you were asked for a phone number to be associated with your Cox account. Enter that number.
- Click on “Next” in the bottom right corner.
- You will get to a welcome page. Click “Next” again.
- Verify contact information.
- Check your Wi-Fi modem. Since you have already set up your equipment, all you need to do is to tick the box that says, “All my equipment is installed at my activation address.”
- Read the Cox Communication Acceptable Use Policy if you want to and accept all the terms and conditions.
- Click “Activate.”
- This action will take you to the next page containing a progress bar. Cox will finalize your installation and account information. The activation may take 30 minutes and it mainly depends on the type of services that are being installed.
- Make sure you do not close the page or browser. If you try to navigate away from this page, the activation process must be done once again.
- Right after your activation process is completed, a new page appears. Click on the “Register Now” icon. It will prompt you to complete the activation. It might ask for additional account details.
- After completion, enjoy your high-speed internet!