Making any customisations to your Centurylink requires accessing its interface. In this case, you can either visit the web-based interface or use the app. if you prefer the latter method, you must install the Centurylink app on your smartphone. However, you must remember that this option might not be available for all Centurylink routers.
As for the web interface, you can access it using any device connected to the router with an ethernet cable. This method is available for all Centurylink router models, and you must follow the steps below if you need help.
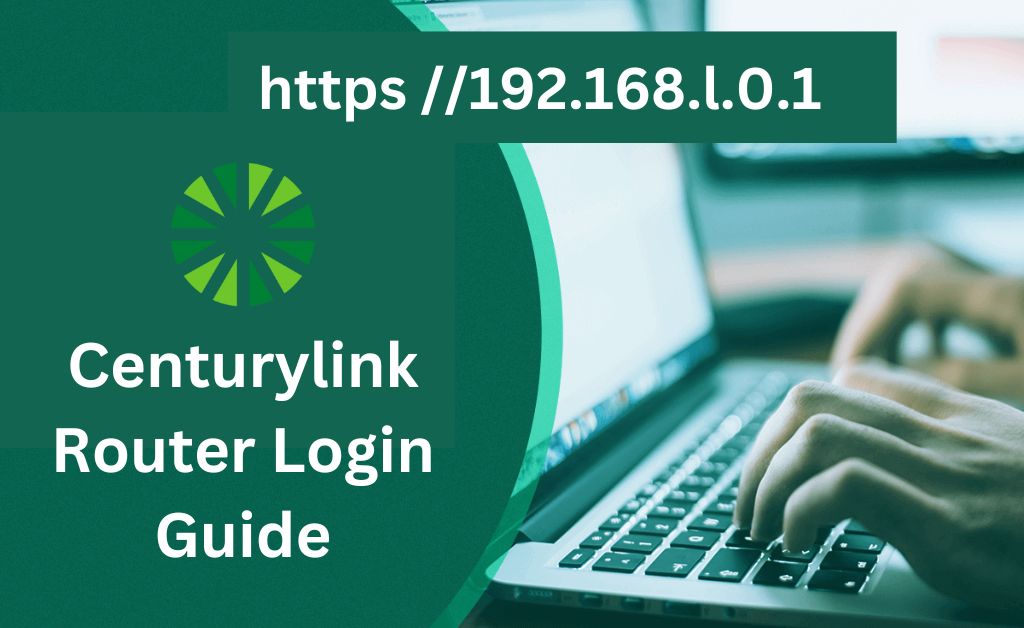
We shall also look at all the crucial information regarding http://192.168.1.0.1 Centurylink router login.
What is http://192.168.1.0.1?
Every router comes with a default IP address that you must use to access its login page. http://192.168.1.0.1, which you can simply type into 192.168.1.0.1, is the default gateway for Centurylink routers.
You must enter it in your web browser to open the login page for the web-based interface. As mentioned earlier, you can alternatively use the Centurylink mobile app if this does not work.
How to Perform http://192.168.1.0.1 Centurylink Login?
You also need your router’s admin credentials apart from the default gateway to access the web interface. Resetting the router might be the only way to gain access to it if you have forgotten its customised password.
Here are the simple steps for opening your Centurylink router’s interface on your browser:
1. Connect Your Computer to the Router
You need to connect the computer to your Centurylink router to access the latter’s interface. Also, you must only use an ethernet connection in this case. Connect the cable firmly on both sides to ensure a reliable connection with your router. You should be able to open your router’s interface and configure it without any issues.
2. Go to the Login Interface
Enter the default IP address in the search bar to open the login interface for your router. You will find the password and username fields to access the admin interface. Are you unable to reach the http://192.168.1.0.1 Centurylink router login page? You must troubleshoot the issue or simply use the app.
3. Log in with the Admin Credentials
Does your Centurylink router still have its admin credentials? If yes, you can find the username and password from the router’s label, if required. Check the service manual or search the web if you cannot find the credentials. Enter the admin name and password in the login interface to access your router’s web-based control panel.
3 Important Configurations You can make through http://192.168.1.0.1 Centurylink Login
You can make all the required customisations to your router’s network through the web interface. However, you need to connect the router to your computer to do this, as we have seen.
In other words, you cannot access and use the web interface remotely. The app will let you control your router from any location with internet access.
Here are the important customisations you can achieve with the web interface:
1. Changing the Wireless Security Type
You can configure the two bandwidths on your Centurylink router separately through the interface. Log in with the aforementioned steps and navigate to the Wireless Setup section. Then, click on the bandwidth that you want to customise and check the options there.
The Basic Settings, Wireless Security, and SSID Setup, among other options, under each bandwidth. In this case, you must select Wireless Security to find the ‘Wireless security type’ option. You can choose between the WPA and WPA2 security types on most Centurylink routers based on your requirements or preferences.
2. Changing the Network Name and Password
As mentioned earlier, there is an SSID Setup option under each bandwidth in Wireless Setup. You must click on it to modify your Centurylink Wi-Fi network’s name. Choose one of the preset SSID names or type in a new one depending on your preference. Also, make sure to create a name that can distinguish your Wi-Fi network from other nearby networks.
Click on Apply once you are done to save the latest changes. Log out of your router and find its network on your mobile or desktop device. Your Centurylink Wi-Fi should get displayed under a new name among the available devices. If it does not, you might have to perform the aforementioned procedure again.
3. Changing the Admin Username and Password
Did you leave your router’s admin credentials unchanged during the setup procedure? Then, it poses a significant security risk to your Centurylink router as anyone can access its default username and password. So, you must modify the username, especially the password, as soon as possible.
You can perform this modification through the Advanced Setup section on the interface. Open the Administrator Password tab given there to create new admin credentials. Enter a new username in place of the default one, which is “admin”. Then, type in a new password in the field below and confirm it.
You must use the strongest password you can come up with for your router’s interface. Click on Apply at the bottom of the page to save the new credentials. Save the password somewhere appropriate so that you can retrieve it whenever required.
Control Your Centurylink Router Remotely with the App
The Centurylink router has a mobile app that makes your controlling tasks easier. So, you might want to install it on your device and try it out. It can offer you several benefits, which include controlling your router remotely. You can use the app to make customisations. Moreover, it is also quite useful for setting up your new Centurylink router.