Your router is the backbone of your home or office network that supports all of your internet needs. Therefore, you need to configure your router as soon as you buy a new one. Additionally, properly configuring your router will ensure that you protect your information from the hackers. Moreover, configuring the router will also ensure secure connection among all of the devices in your home to the internet. Hence, in case you are wondering “how to configure router?” then we will guide you. Therefore, you can now follow this guide in order to get your router configured in just a few minutes. Now, you can proceed to the next section of the article below.
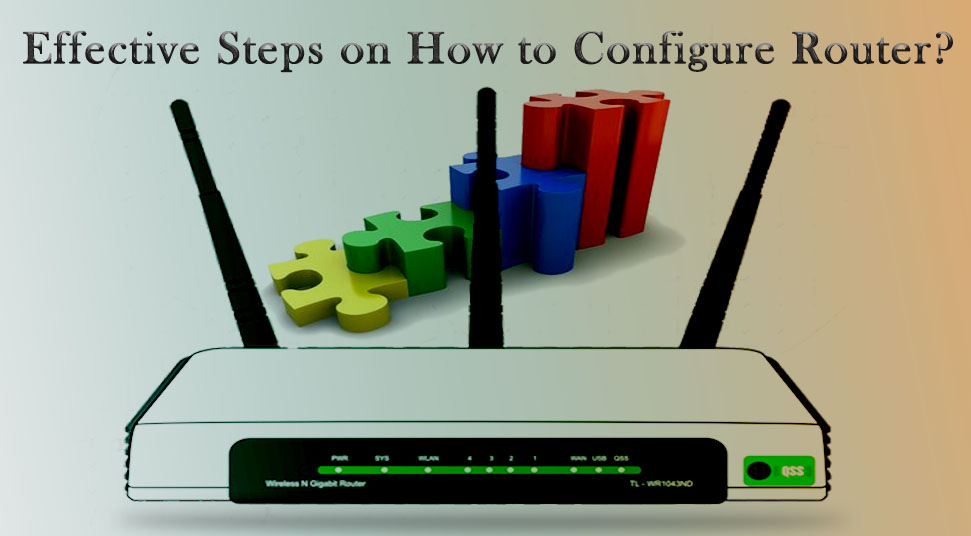
How to Configure Router?
Now, if you have purchased a new router that you need to configure, then you can follow this section of the article. Here in this section, you will get all the step by step guide that will help you configure your router successfully. Hence, you can now have a look at the processes that we have discussed as follows:
Process 1: Connecting to the Router
In the first process, you have to connect the router to the internet. So here we need to follow the steps that are given as follows:
Step 1: Try to connect the router to your modem
In the first step, you have to use the Ethernet cables of the router to connect to the modem. Note the WAN/WLAN/Intenet port on your router and connect the Ethernet cables to the ports. Now, connect the computer to the 1, 2, 3, or 4 port on the router.
Step 2: Open the web browser
Inj the next step, you have to open the web browser on the computer. Now, you have to open the router’s configuration page. Remember that you have to connect the computer to the same network as the router. After doing that you can move to the next step.
Step 3: Enter your Router’s Internet Protocol address
Your router will be accessed through the web browser by entering the Internet Protocol (IP) address of the router. Here you have to enter the Internet Protocol (IP) address in the address bar of the web browser. Most of the router have their default Internet Protocol address printed on their back. So, from there, you can see it. Therefore, now you have enter 192.168.1.1 in the address bar of the web browser.
Step 4: Enter your Router’s Default Username and Password
In the next step, you have to enter the username and password in order to access the configuration page of the router. The default username and password will be printed at the back of the router. Now, after entering the default username and password will open up the configuration page of your router.
Step 5: Assign the Router a New Username and Password
Now, as you have access to the configuration page of your router, you have to assign a new username and password to it. Assigning a new username and password will ensure full security. As having the default username and password will be insecure for you.
Hence, now you have to navigate to the Administration section of the router configuration page. Now, when you are on the page, you have to change the user name and password of your choice which shall be unique. Also, remember that you do not share your password.
After doing that, you have to apply the changes. Now, you will have to re-login into your router home page.
Process 2: Setup the Wireless Network of your router
In the second process, you will have to set up the Wireless Network in order to access the internet in multiple wireless devices. Therefore, in order to do this, you can have a look at the steps that are given below:
Step 1: Check the Internet Settings
Once you are inside the router’s home page, you have to check for the Internet IP address, DCHP and DNS settings are all set or not. These options will be set to automatic by the manufacturer. Now, many of the routers’ home page has a test button. Therefore, you can use this Test button in order to check if the router is configured correctly or not.
Step 2: Now open the Wireless Settings
In the next step, you have to navigate to the Wireless settings window. Now, the page will display the wireless SSID, Channel, encryption and other settings of the router. After arriving at this page to have to move to the next step.
Step 3: Rename your internet network
Now, you have to name the SSID field according to your unique name. Be sure that you do not place any personal information as it will be public. In the next step, you have to make sure that to enable the SSID Broadcast option is enabled. Next, the channel should be set to Auto.
After that, you have to proceed to the next step.
Step 4: Choose the encryption type of the wireless network
Under the Security Options section, you have to choose the encrypted type for your wireless network. Here the options will be WEP, WPA-PSK, and WPA2-PSK. The last option is the most secure encryption. Therefore, there you have to choose this option from the lits.
Step 5: Choose the Password for your wireless network
Now, you have to enter a strong password for your wireless password. Having a strong password will ensure a secured connection. The password should also be unique so that no one else knows it. Additionally, you should never share your password with other strangers.
Step 6: Apply the Wireless settings
Once you have entered the SSID, encryption type, and password, you have to apply the changes. In order to do this, click on the Apply button at the bottom of the options field. Next, the wireless network will refresh and you have to again reconnect to it. In this case, you have to enter the new SSID and password which you have to set. Now, after reconnecting to the wireless network, you can now start to fulfill all your internet needs.
How to Reset your Router?
In some of the cases, you need to reset your router in order to apply the default settings. Here you need to reset the router if you are facing an issue with it. Therefore, you can have a look at the steps that are provided below:
- In the first step, you have to take the router and a paper clip.
- Here, with the help of the paper clip, you have to press the Reset button of the router. This reset button will be available at the back side of the router.
- Here you have to press the reset button for about 10 to 20 seconds. The router power light will become steady from blinking when it is reset.
- Once, you have done that, you have to re-configure your router by following the processes above.
So, this is how you can reset your router and then, configure it back again.
Conclusion
Therefore, this is how you can configure your router that you have initially bought. Follow the steps as they will provide you with complete guidance. Moreover, if in case you face any issue in the steps then you can get back to us. Hence, for the feedback, we have provided the comments section below the article.