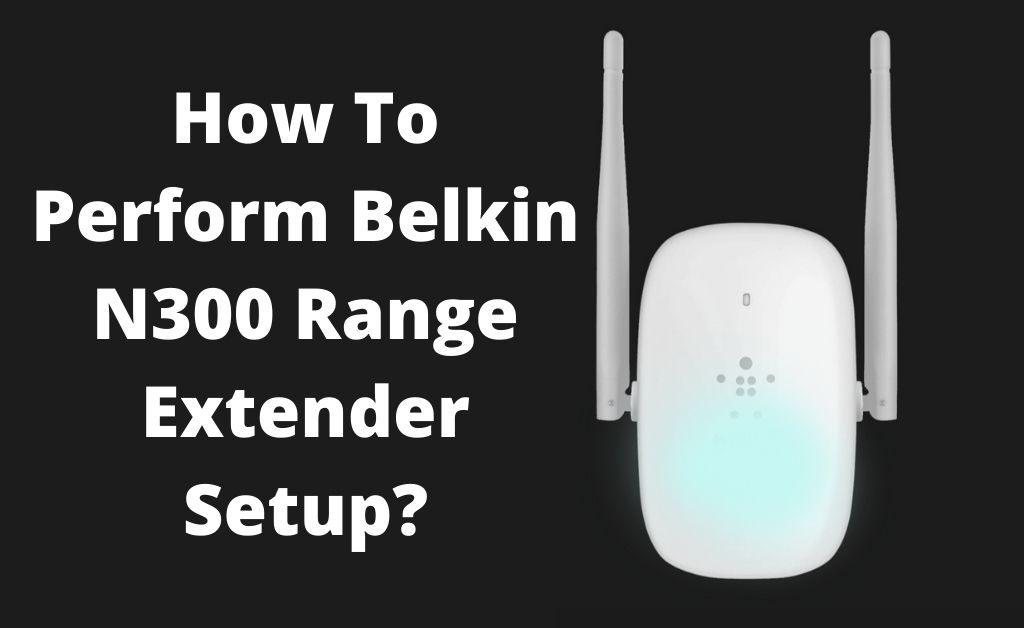
Belkin N300 extender uses N technology that can boost up the network performance. Besides that, it offers a speed of up to 300 Mbps which is ideal for instant emailing and internet suffering.
This extender has come up with a WPS button and with the help of it, you can easily connect several devices and computers. Also, the four ethernet ports, keep your connection hassle-free.
So, if you wish to use the Belkin N300 for your purpose, then at first, you have to know the Belkin N300 setup procedure. For this purpose, you can take help from the below points.
Effective Steps to Complete the Belkin N300 Setup Procedure
Before proceeding to the setup procedure, ensure that you have the following things.
- Accessible wi-fi router network name (also known as SSID) and the wireless password.
- If you use a dual-band router, then you must know the SSID and password of both bands.
- Belin N300 wi-fi range extender
- Make sure that you have a wi-fi-enabled device. This can be either a computer, smartphone or tablet.
Furthermore, check out the following points.
Step 1: Turn on the Extender
In the beginning, you have to connect the N300 extender to the power outlet. Keep the extender near the router and after that turn it on. Next, with the help of the enabled wi-fi device, you have to detect as well as connect the Belkin n300 setup network.
Step 2: Launch a Web Browser
On the next step, you should open a web browser and after that, enter the domain name ‘http://belkin.range’ within the address bar. Press the Enter key in order to access the setup page of the Belkin N300 extender.
Alternatively, you can enter ‘ 192.168.206.1’ in the address bar. Then, click on the Go button.
Step 3: Select a Wireless Network
If you have successfully entered the IP address or the domain name, then a new window will appear on the screen. Here, search and tap on the Get Started option.
After that, all the available network names will appear on the LED display. From there, choose the wireless network that you want to extend. When finished, simply hit the Next button.
However, if you are unable to see the network list, tap on the Refresh option. Wait for a while as the N300 extender will take some time to detect and connect to the network.
Next, the Setup Wizard will check the wi-fi password. In case, you are using a dual-band network, then it is recommended to select the second wireless network.
Once the setup procedure is completed, tap on the Next option.
How to Connect Belkin N300 Extender with the WPS Key?
Two ways you can set up the N300 extender through the Wi-Fi Protected setup. Let’s check them out.
WPS PIN Method
To apply it at first, ensure that the router is turned on as well as it is connected to the internet. Then, open a web browser and enter ‘ Belkin.range’ within the address bar after that hit the Enter key.
Sign in to the Belkin extender setup page. In addition, proceed to the Extended Network settings section. Under here, locate and tap on the WPS option. After that, a new window will appear on the screen. Here, within the given box, type the PIN number and then hit the Enroll option.
Wait for 2 to 3 minutes and after that, the Belkin N300 extender must be connected to the wireless router.
PBC Method
To apply this method, you must have a WPS button on both devices. Some router does not have the WPS button.
However, this method is only for those wireless router that has a WPS button. To implement the task, follow the given instructions.
- At first, you need to turn on the Belkin Extender and thereafter press and hold the WPS button. After some time, the LED lights will start blinking.
- Thereafter, go to the main wireless router. Here, locate the WPS button and press it for at least 2 to 3 minutes.
Now, the extender and the wireless router will exchange security authentication. Thereafter, the extender will be connected to the router.
Setup N300 Extender with the Ethernet Cable
In the beginning, you need to connect the extender to the computer through an Ethernet cable. Next, you should plug the extender into the power socket. The next thing that you have to do is turn off the wi-fi connection on your device.
To do so, go to the bottom right corner of the Home screen of the computer screen. Then, tap on the network icon. From the list of options, turn off the wi-fi tab.
Next, open your favorite web browser and type ‘ nelkin.tange’ in the address bar. Thereafter, tap on the Get Started option.
Furthermore, follow the on-screen prompts and tap on the network name of the wireless router. Once you select it, then click on the Next button. On the next page, you will see the ‘ A password is required to join this network’ message.
Type the password of the wireless network and furthermore tap on the Next button. Wait for some time and let the procedure complete.
Once done, you should reboot your extender and the computer.
Frequently Asked Questions
-
How to reset the N300 Extender?
In the beginning, plug in the Belkin extender to the power socket. Turn around the Belkin extender and locate the reset button. Next, take a paper clip and with the help of it, press and hold the reset button for 10 to 20 seconds.
Keep pressing the reset button until all the LED lights start flashing. After that, release the reset button. Wait for another 40 to 45 seconds. The restoring procedure gets completed.
-
What to do if the Belkin Setup is Unable to Locate the Wi-Fi Range Extender?
Most of the time, during the Belkin extender setup procedure, you can experience this glitch. In such a condition, ensure that the N300 range extender is turned on.
-
Belkin Range Extender is having a Problem while Connecting to the Wireless Network, What to do?
At first, you should see whether the Amber LED light is flashing. If not, it means that the range extender is not connected to the wireless network. To get rid of it, place the extender close to the router.
In case, you encounter that the Amber LED is firm, it means that the extender is connected to the network. However, the signal is not strong enough. To fix the problem, move the range extender near the wireless router.


