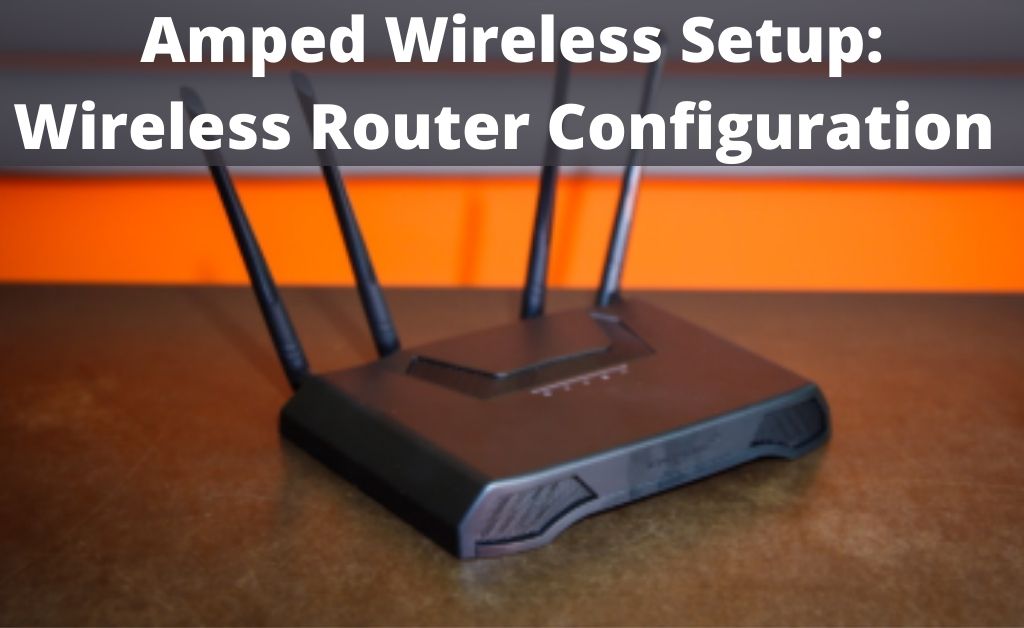
Amped wireless router can be the ideal choice for your office, home, apartment or any other place where you wish to enjoy the wireless internet. This router can extend the coverage area of your Wi-Fi network. Amped wireless receives the wi-fi signal. Then, amplify and transmit the boosted signal. However, to take advantage of its features, you must know the Amped wireless setup procedure.
Don’t have any idea about it? Don’t worry as here we are going to explore some techniques which will surely assist you in the setup procedure.
Easy Steps to Setup Amped Wireless Router
Here are the steps that you can follow in order to complete the setup procedure on your own.
Step 1: Remove as Turn Off the Connected Router ( If any)
At first, you need to separate the existing router, modem and power cable from the computer. However, if you don’t have an existing router, then skip this step and continue to step 2.
Step 2: Power Off the Modem
Now, you should power off the modem. Ensure that there is no power battery backup on it. Then, you have to turn on the Amped wireless router
Step 3: Build Connection between the Modem and the Router
Use an Ethernet cable and connect the smaller end of the cable to the modem. The other end must be connected to the Amped router WAN port.
Take another Ethernet cable and connect it from the Router 1,2,3,4 LAN port to the computer. In case, you don’t have a computer, then as an alternative, you might use a tablet or smartphone.
Step 4: Turn on the Modem
After applying the above three steps, you should plug in the power cable to the power socket. Then, power on the modem. Insert the battery if available. Wait for 5 to 10 minutes.
Step 5: Install the Amped Router
Now, you should attach the antennas to the router. Next, turn off and turn on the router. Wait for a while until the LAN port, wi-fi, LED light blinks green. However, the color of the LED lights totally depends on the router model.
In case, you use a tablet or smartphone, then you have to connect it to the Amped router’s wireless network. That is ‘Amped_xxxx’. On the bottom of the router, you will see the default login credentials.
Step 6: Access the Amped Setup Wizard
After connecting your computer to the router, you should launch a web browser from your device. Type ‘ setup.ampedwireless.com’ within the address bar. Press the Enter key and this will open the login page of the router. However,
What to do if you are unable to see the login screen after entering the setup.ampedwireless.com?
First, you should make sure that through the secured Ethernet cable, your device is connected properly to the Amped router. Besides that, ensure that you use the latest and compatible browser.
If the issue still persists, then it is recommended to try a different web browser. Else, you can close and reopen the same web browser. Enter the default IP address ‘192.168.3.1’ in the address field.
If nothing happens, then you should power cycle the wireless router.
Step 7: Begin Setup
Once the login page appears on the screen, enter the default login credentials and then tap on the begin setup option. In case, you see the Dashboard option, tap on the Setup Wizard option.
Then, the Smart Setup wizard will automatically start the setup procedure. You should tap on the Automatic configuration button in order to automatically configure the wireless router with the recommended settings.
Once the setup procedure is completed, you will see a green checkmark.
What to do if the setup procedure is not completed by the Smart Setup Wizard?
In the beginning, you need to unplug the power cable and turn off the router. Again plug in the power cable and turn on the Amped router. Also, try to reset the wireless router to the default settings.
For resettings, first, open a web browser and type ‘setup.ampedwireless.com’ in the address field. After that, the login page will appear on the LED display. Type the default username and password in the given field in order to go to the admin page of the wireless router.
From there, proceed to the Settings page. Under here, hit the factory reset tab. This will restore the Amped router to the factory settings.
Else, locate the reset button that might locate at the backside of the router. Then, take a paper clip and with the help of it press and hold the reset button for 10 to 15 seconds. When the LED lights start flashing, release the reset button.
After that, the router will be restored to the factory settings.
Complete Amped Wireless Setup Procedure Via WPS
At first, you should locate the WPS button that might locate at the back panel of the wireless router. Afterward, press and hold down the WPS button for near about 5 to 6 seconds.
Now, the LED lights of the Amped wireless router will start blinking. Next, by using the provided software for the wireless router, you should enable the WPS.
Furthermore, the WPS will configure as well as establish the connection settings automatically. Wait for the completion of the procedure. Now, you are done with the setup procedure.
Amped Wireless Range Extender Setup
First, launch any web browser and enter ‘192.168.1.240’ in the address bar. Type the login credentials in order to access the web menu of the Amped wireless extender.
Go to the Dashboard screen. Here, you will see the current status of the range extender. Now, to see the available network, tap on the Scan option. Instantly, a list of available networks will appear on the screen.
From there, choose the wireless network that you wish to extend. To move further, hit the Next option. You will be asked to type a password for the wireless network. Tap on the Next option to continue.
Next, you have to enter the SSID in order to configure the extended network settings. Hit Next to save the changes. After that, the Amped range-extended will be rebooted and then connect it to the computing device for the new network.
Finally, tap on OK and after that, the range extender will be successfully set up.